
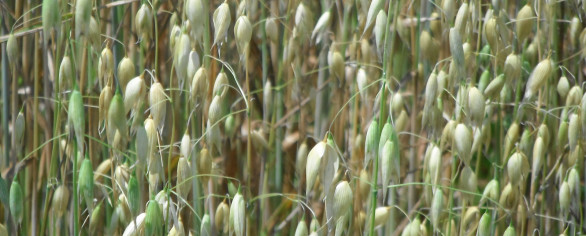
Oat groats are such extremely versatile little grains!
They can be milled by a grain mill (when still a whole grain) in to oat flour. Although not ideal for making use of in yeast breads as the single flour, the flour can be included as part of the required flour, yet oat flour can be utilized practically entirely as a substitute in various other baked goods not requiring yeast.
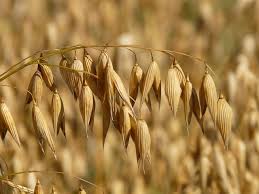
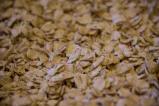
Oat Groats can likewise be utilized as Steel Cut Cereal (see picture at the right) and prepared as a thicker, chewier variation of oatmeal, included in a selection of warm dishes and baked/cooked goods.
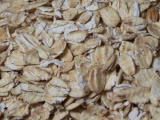
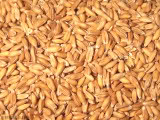
They can be rolled with a flaker turned into the old made rolled oats that the majority of individuals know them by. (pictured to the left)
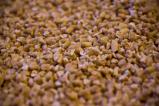
Once rolled, they can then be chopped into finer pieces using the food processor utilizing the S-blade and turned into healthy Quick Oats! See this video – http://www.youtube.com/thewheatguy#p/u/31/CR6En56LNUU
From one extremely versatile grain, you could make so very many different food staples. Such a great space saver for long term food storage space and a healthy and balanced option to fast fix foods with that contain harmful additives.

For more tips to how much variety this one grain (oats) can give you – you may enjoy this short radio show “Getting Grain Specific: Sewing some (wild) oats” – Just fast forward to about minute 10:00 because there were terrible technical difficulties… but there is still some good info! (: *embarrassed smile*
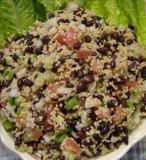
 This Gluten Free: Easy Millet & Veggie Salad is a great summer treat.
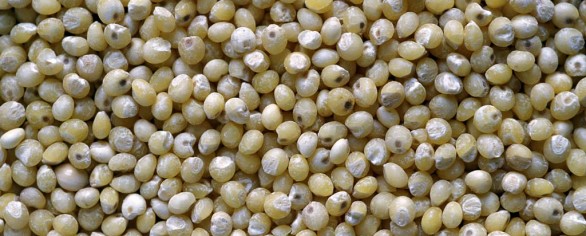
Commonly used in gluten free diets, I’ve found this grain is even more versatile when used whole rather than milled into flour. I like the simplicity of it and the texture. It rivals the texture of couscous (which is not a grain at all but a small durum wheat pasta) holding it’s form and shape well even after over cooking. It is an excellent option to replace rice and other whole grain side dishes.
For those warm summer nights and easy summer lunches, this recipe is both filling and cool to keep the kitchen from becoming a hot spot.
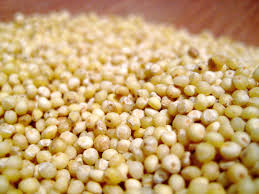
First be sure you are using food grade millet. Be sure it is fit for human consumption and not bird seed.
To cook basic, plain millet:
Rinse and drain 1 cup of millet. Set aside. In a medium saucepan, bring 2 1/2 cups water and the 1 cup millet to a boil. Cover, reduce heat to medium-low, and cook 15 minutes, much like rice until liquid absorbs. Remove from heat and let sit covered with a towel for 3-5 more minutes. This will be approximately 2.5 Cups in volume when done.
Once the millet is cooked and cooled, the opportunities for use are almost endless…
This easy recipe is my very favorite millet recipes used as a side, as a quick lunch or rolled in Nori as veggie sushi:
Millet and Veggie Salad
Ingredients:
1.5 Cups Cooked Organic Millet
1/4 Cup Cubed Cucumbers
1/4 Cup Diced Onions (red, scallions or white)
1/4 Cup Frozen Peas/Carrots
3 TBS Low fat Italian Dressing
Optional:
1/4 Cup cooked Organic Black Beans (pictured above – making this a complete meal with protein)
1/2 an Avocado Cubed*
1/4 Cup Cubed Tomato**
Mix all together in a large bowl or a container that can be covered and refrigerated for several hours. Overnight is best.
Serve chilled.
Lasts for almost a week in the fridge.
*Avocados added separately before serving, due to oxidation.
**Add Tomato separately upon serving due to easily spoiled.
Thirteen (13) tips to save money in the kitchen.
By Donna Miller
In today’s economic climate so many people been impacted with a financial burden due to recession or job loss. We often hear the phrase: “I’d love to eat healthier, but I just don’t have the money.” There are so many areas in day to day life that require spending our hard earned cash that health and the family meal plan is put on the back burner because of finances.
But there are many areas in life that are within our control. Often curbing our over expenditures has to do more with unlearning certain spending habits and making a few lifestyle changes to get some areas under better control.
So where can you save money? There are many, but for the sake of focus let’s just look at one place – saving money in the kitchen.
Kitchen consumable goods and food are one of the most controllable expenses that we face each day, week, month and year. Here are just thirteen of my tips for making the most of these consumable items and food.
Non-food Kitchen Savings:
- Wash freezer baggies and aluminum foil to reuse.
- Use old credit cards as a kitchen scraper for dishes and counters.
- Trap fruit-flies for free without any chemicals using old fruit and a produce baggie.
- Use citrus mesh bags as a scrubby for pots and pans.
- Use citrus mesh bags to make your own sprouting lids.
- Reuse the wax paper that comes in the cereal box.
- Save butter wrappers to treat pans and cookie sheets instead of buying sprays.
- Use elastic to hold your pot/pan lids on the door rather than buying an ‘organizer’.
- Put all slivers of soap in a tied off toe of an old panty-hose (also a bathroom savings).
Food Savings Ideas:
- Buy and learn to use whole foods rather than pre-made mixes.
- Multiple uses for rolled oats and popping corn. One low price makes many options.
- Disguise and remix left-overs.
- Count how many items are in the pre-bagged produce items.
There are so very many more things that can be done in the kitchen to save money. The opportunities are endless. Look for future articles to come with even more ideas and tips to try in your own home.
By putting each of this baker’s dozen of tips into practice, the savings mount up and so does your expendable income. As you learn to stretch what you have, you are also gaining a very vital skill. Enjoy the journey!
For more detailed information on how to do these tips with examples and ideas – listen to this episode of ‘Surviving on Shoestrings’
For videos of some of these ways and more to stretch what you have in the kitchen and save money stop by the Millers Grain House Video Archive.

Gluten free does not mean you have to live on only processed (expensive) foods. In fact, if you are eating gluten free you can still get whole grains into your diet. It’s not only wheat that has bran to help with digestion and colon health but all other forms of whole grains such as oat groats, rice and quinoa seeds such as amaranth and legumes like pintos and navy beans all are rich in fiber (and more). So opting to go gluten free doesn’t mean buying only pre-made mixes and boxed pre-made, processed food items. Here’s a recipe for some GREAT gluten free waffles that you can make in a flash by using only whole grains.
One of the things that started my choice to mill grains at home actually was a gluten sensitivity diagnosis. At that time, the gluten free options were few and far between as well as extremely expensive. When we started milling our own grain at home, we realized not only how much healthier it was but how much more versatile and economical it was as well. We completely stopped buying expensive convenience foods and began making larger batches of our favorite whole grain foods to have conveniently ready at home.
Not only does this recipe (once doubled) lend itself to making more and freezing the left-over waffles for a quick toaster breakfast – it has been adapted to be gluten free and is super easy to make the very first time as well! The tip is about 5 minutes of prep the night before…leaving very little prep time in the morning!
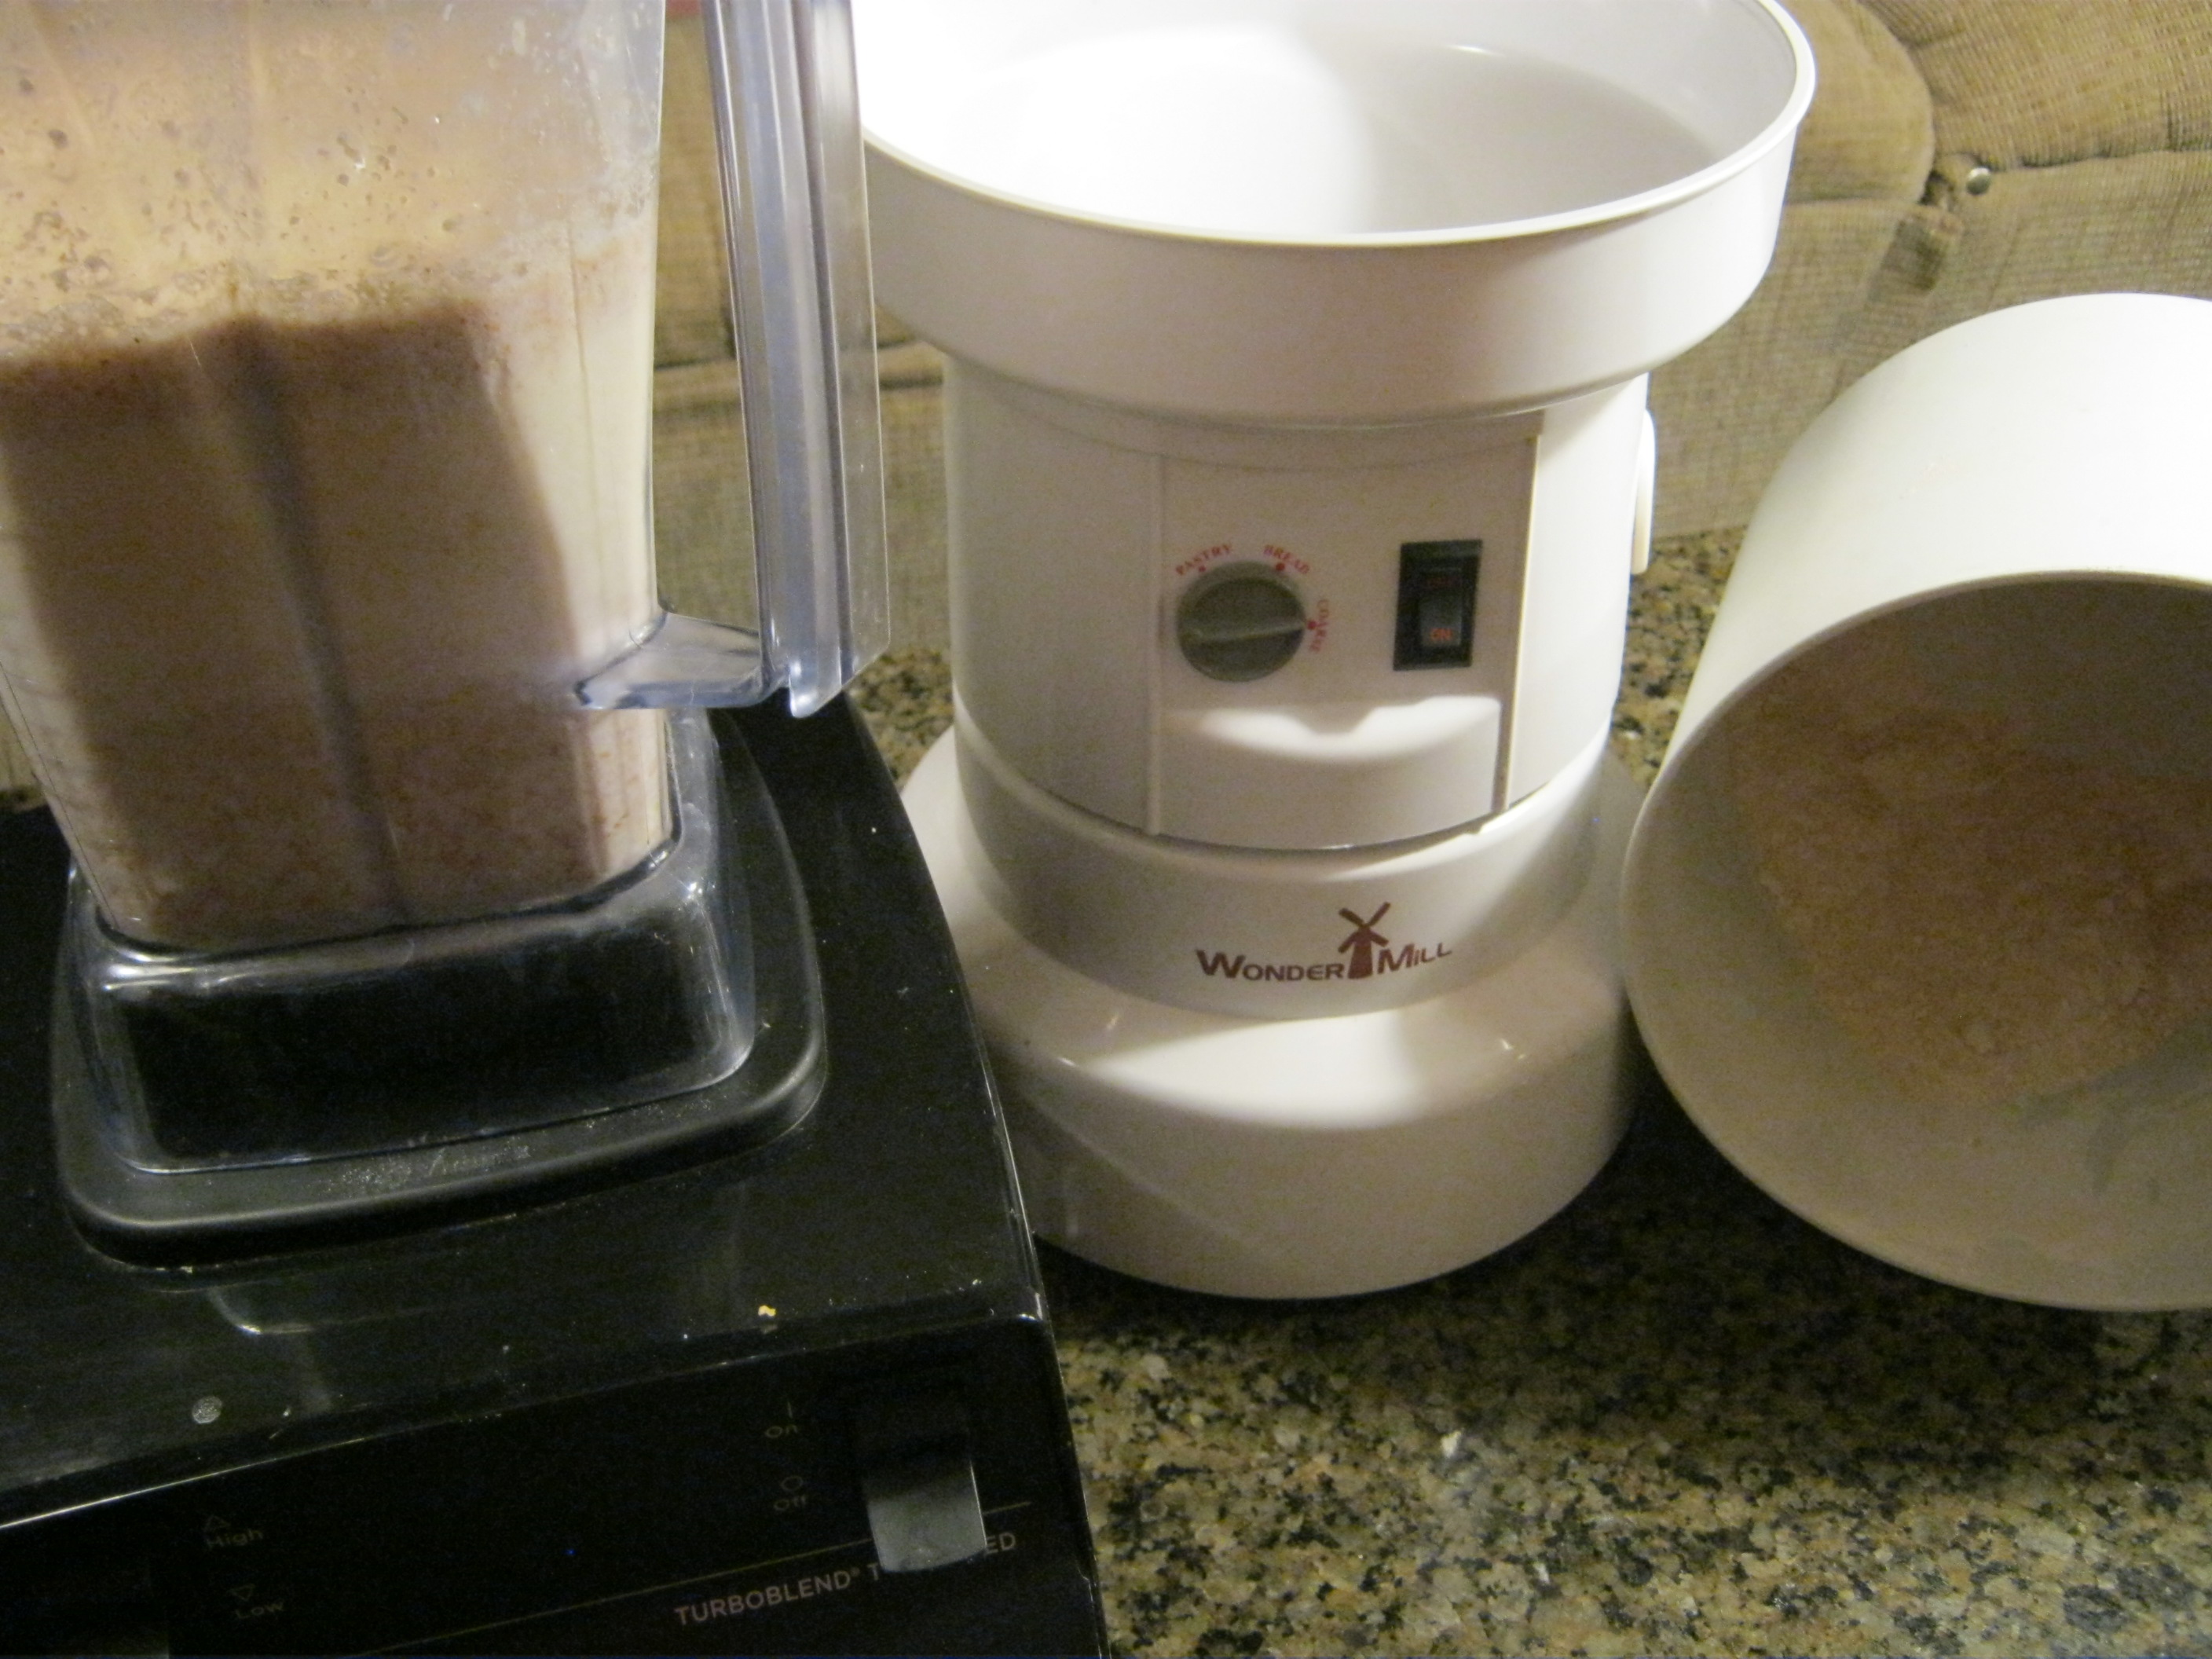
You can choose to either mill these grains all together in your Wondermill or Wondermill Jr. Deluxe or do a combination of some milled gluten-free flour and some whole grains. No matter the combination of grains that are left whole and soaked or milled into flour, you will still be using unprocessed whole grains either way.
Easy, Multi-Grain Gluten Free Blender Waffles
Makes about 8 – 8″ Belgium Waffles
Over Night Ingredients:
- 1/2 C Teff Grains (whole or mill that 1/2 Cup)
- 1/2 C Brown or Sweet Rice (whole or mill that 1/2 Cup)
- 1/2 C Rolled Oats (or mill 1/2 C of oat groats – but don’t mill the rolled oats)
- 1/4 C Whole (or milled) Millet
- 1/4 C Whole (or milled) Quinoa
- 1/4 C Corn Meal (mill popping corn or dry corn or use left-over [wet or dry] grits)
- 2 C Non-fat Buttermilk
- 1/3 C Canola, Coconut or Grapeseed Oil
- 2 TBS Organic Sugar
- 2 Eggs
- 1 TBS Vanilla Extract
- 1/2 tsp Sea Salt
Put all the above ingredients in a blender or VitaMix and take for a short spin before putting in the refrigerator over night.
Add Morning Ingredients:
- 1 tsp Baking Soda
- 2 tsp Baking Powder
The next morning, simply wake up, pour your coffee and enjoy the fact there there is no rush!!
When you’re ready, heat the waffle iron and pull the blender from the fridge. Then, while the mixture is running, add the above two ingredients and run until batter is smooth. You may want to adjust the consistency a bit by either adding more buttermilk or more milled gluten free flour. It should be a little thinner than a pancake batter.
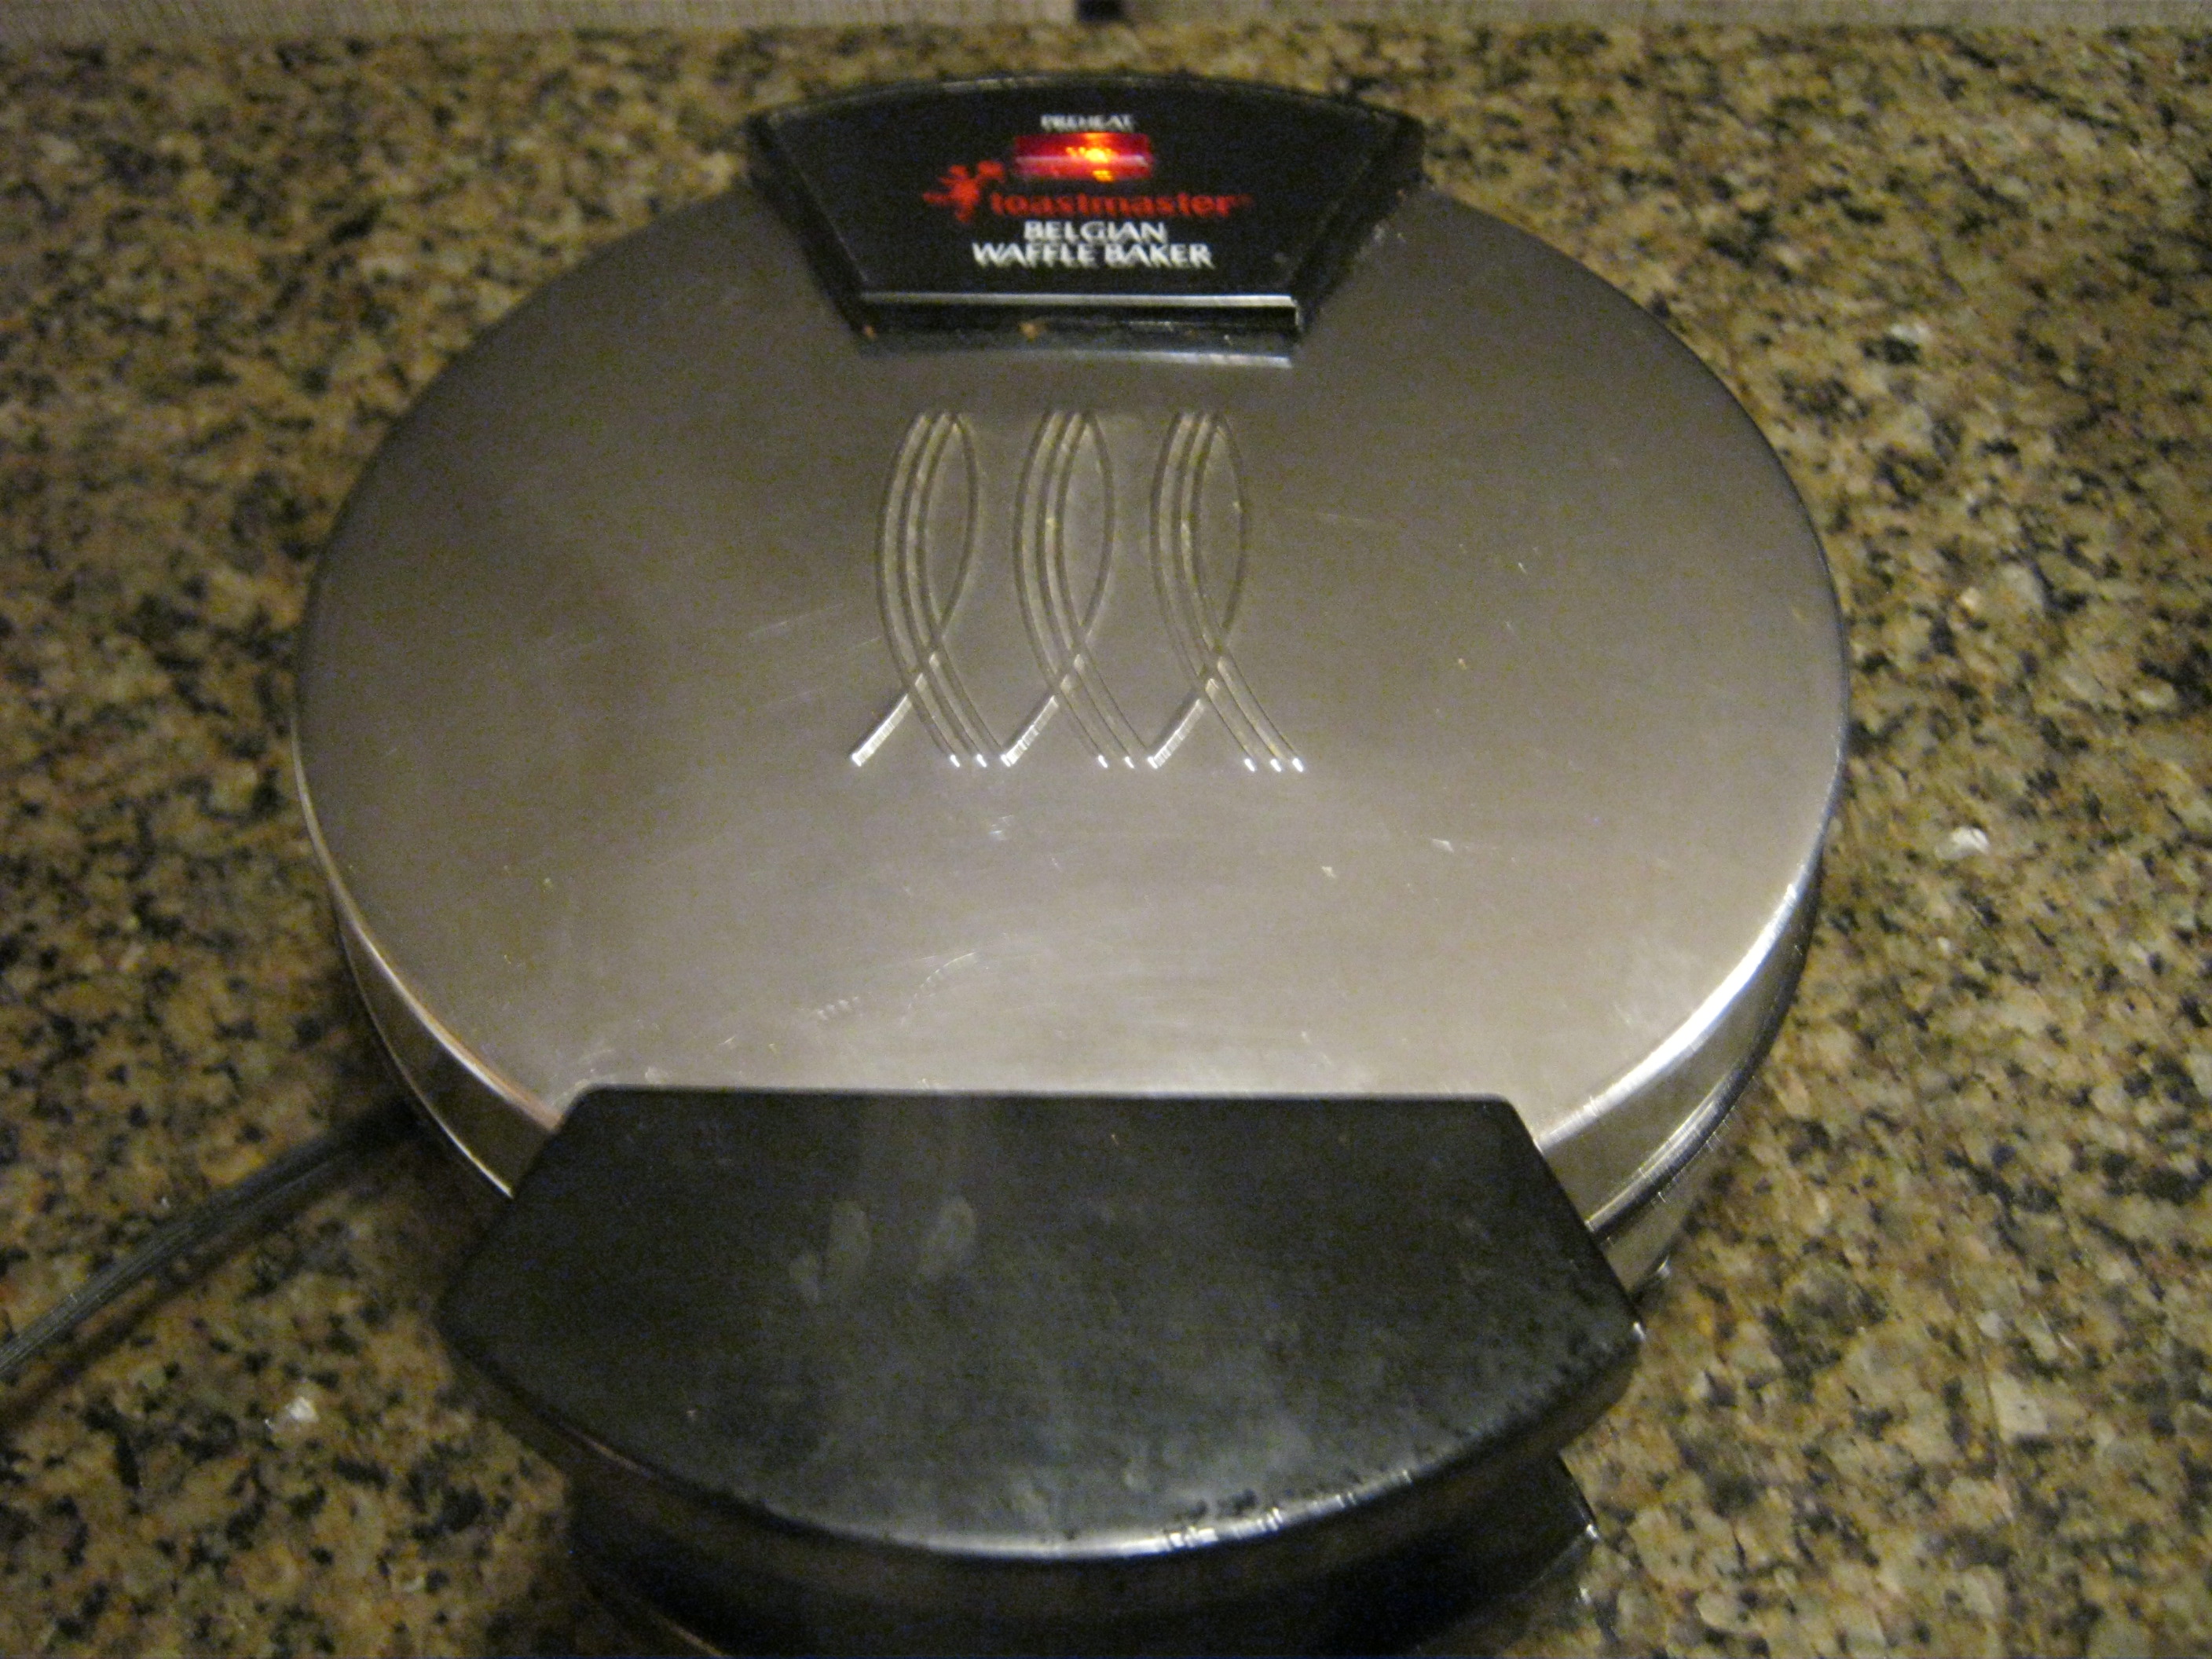
Once your waffle iron is heated, thanks to the handy dandy pouring feature of the blender, just pour on to the iron until about 1/2 full…close the lid and proceed as normal until you’ve produced a fluffy yet crispy.
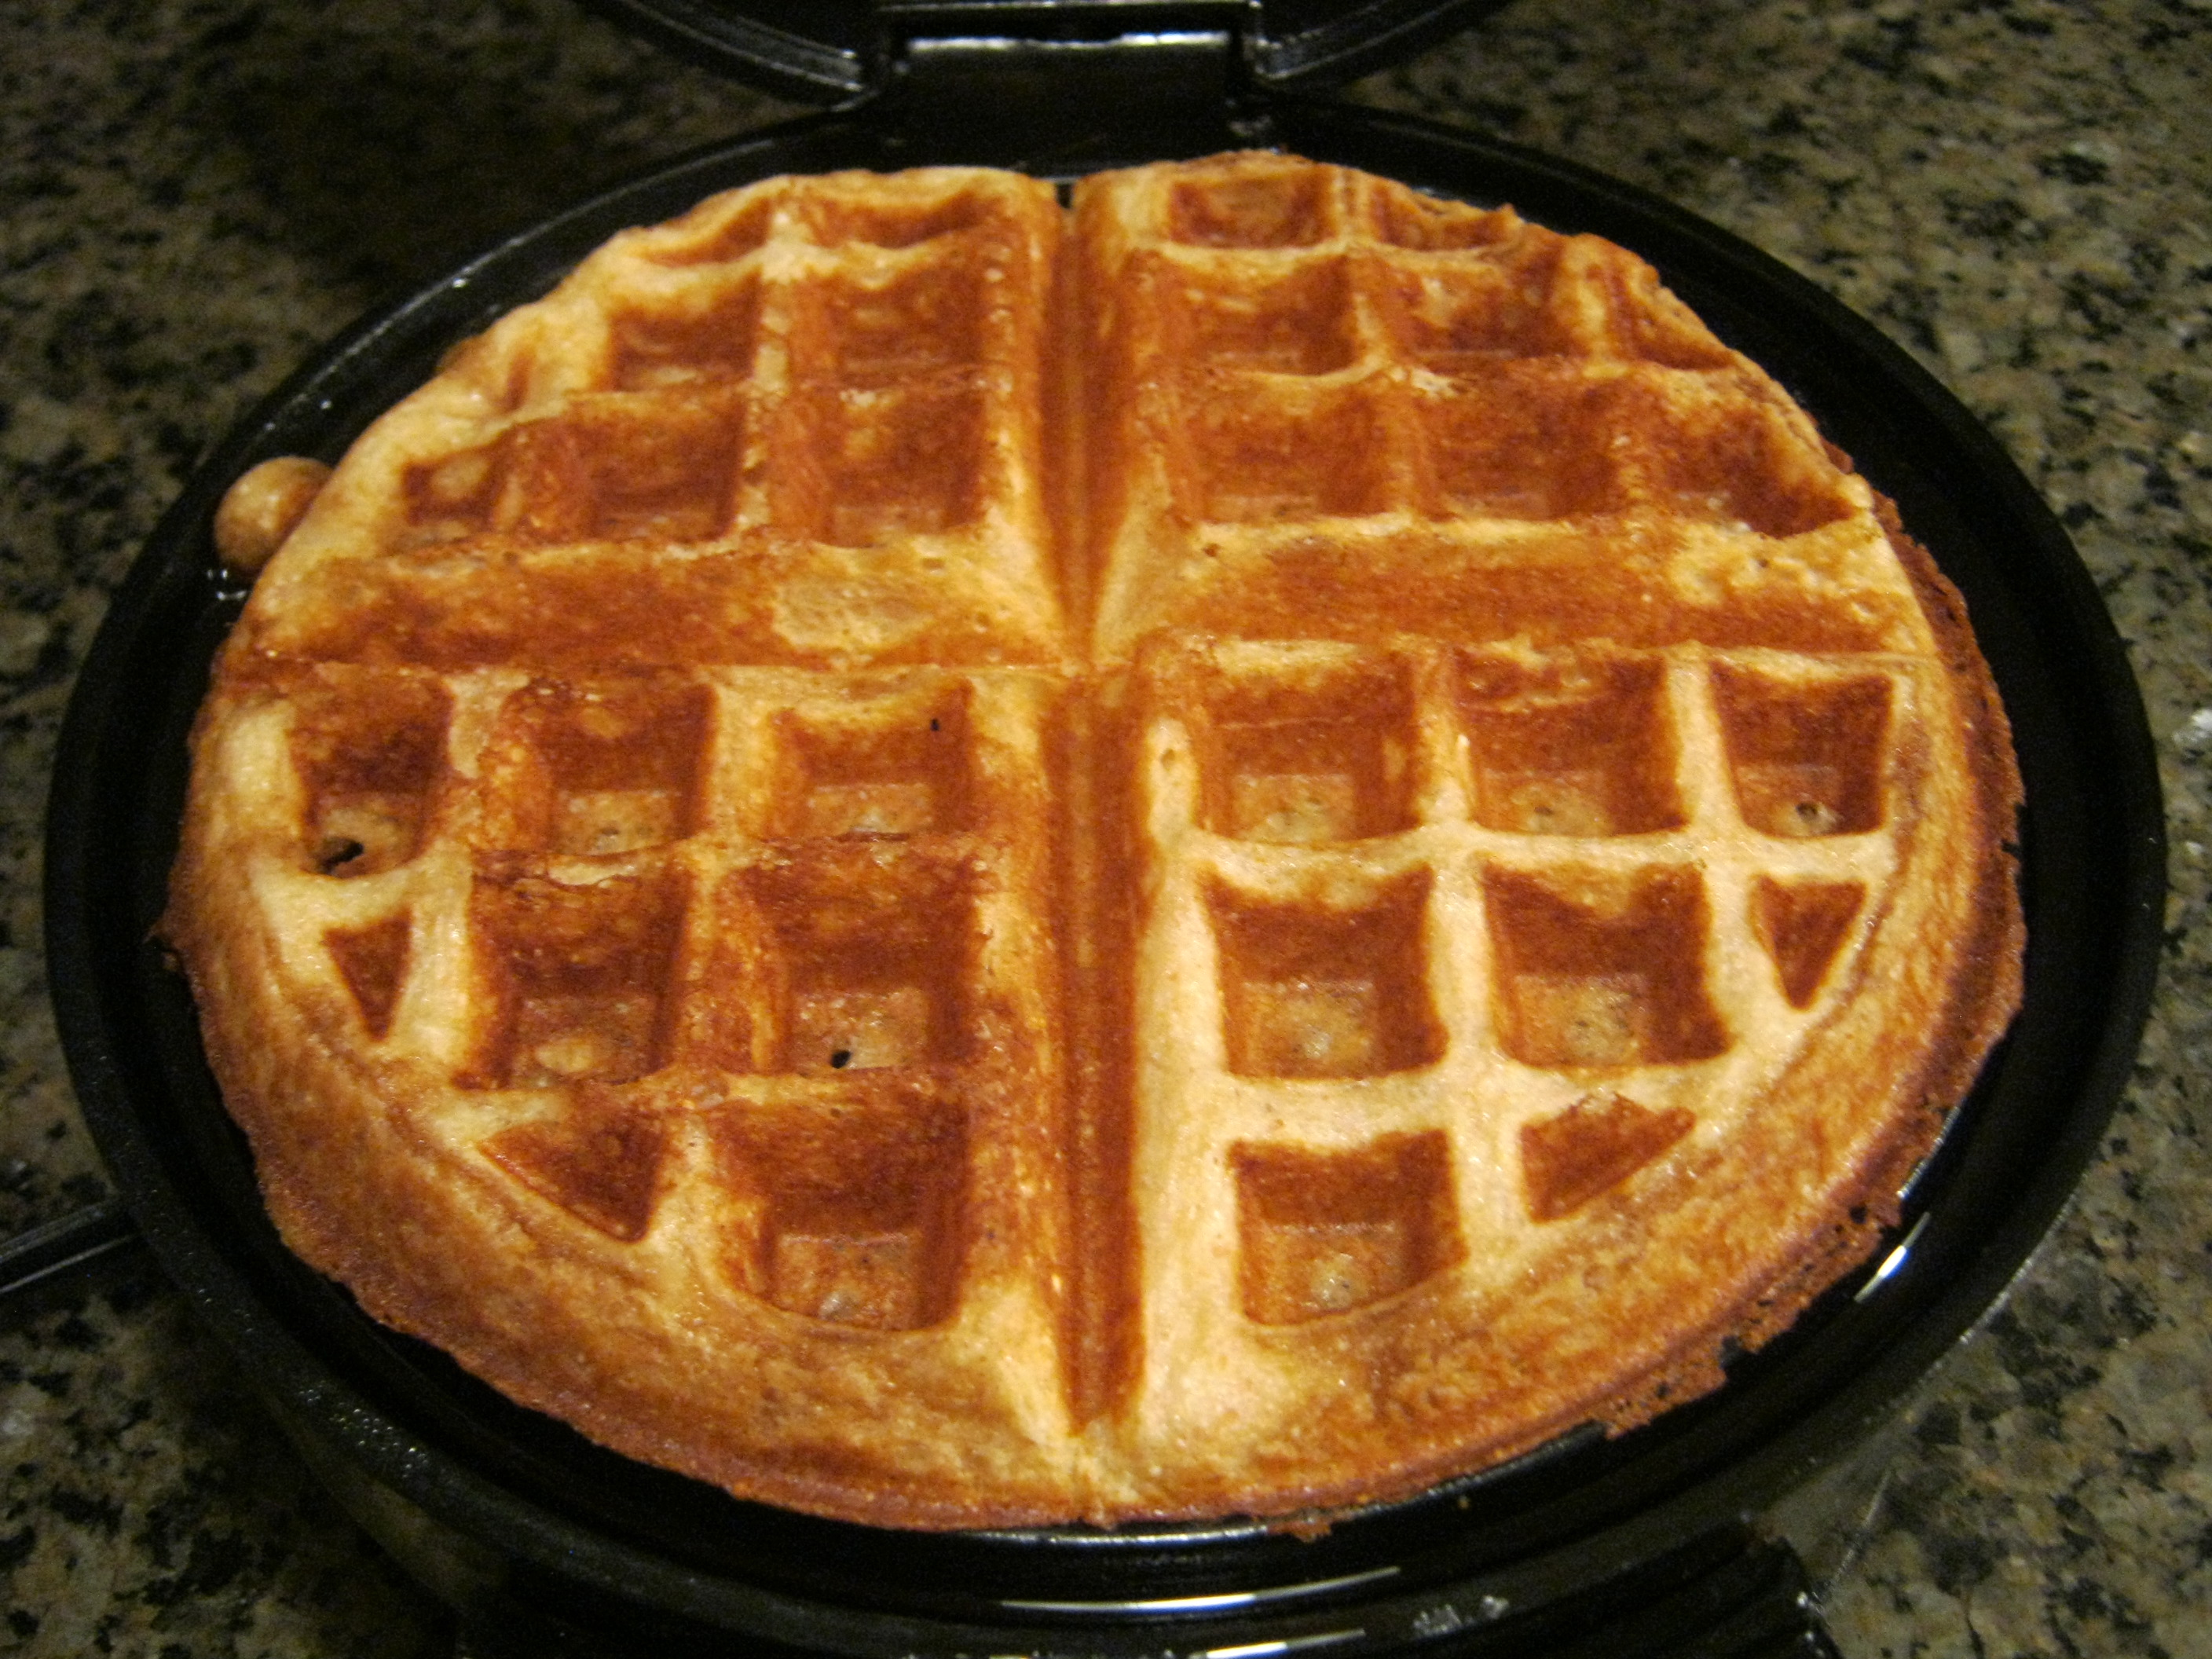
Keep these warm for a crowd in a 200 degree oven – right on the rack. Serve warm and enjoy. But be prepared. You’ll want to make more!
If you’re cooking these for future quick breakfasts on the go. Put all extra waffles on a wire rack to cool. Not on a solid surface (they sweat and get soggy).
Once the extra waffles are cooled, you can store them in a freezer bag with wax paper between them and take them out like a cheaper, healthier, gluten-free ‘eggo’. They work great in the toaster or toaster oven, un-thawed straight from the freezer!

EnJOY!!
________________________________________________
 Donna Miller is a teacher, author, sought-after speaker and trainer. She has been a both guest and host on internet and broadcast radio talk-shows and in television interviews.
She is the hostess of “Your Preparation Station” on Preparedness Radio Network. and Surviving on Shoestrings. She and her husband are the Organizers of WNC Preparedness Group in Asheville, NC. She is an Adjunct Instructor for Frontier Christian University. She teaches local classes & ladies retreats for people to learn hands skills.
She and her husband are the founders of Millers Grain House and Your Preparation Station and are on the board of PREPARE Magazine.
Joseph and Donna have been happily married for 28 years and have three adult children, and one daughter in-law.
________________________________________________
You know, I wish everyone who read this blog post lived closer. Mostly because my most favorite thing about my ‘work’ is teaching. I really am not a fan of inanimate objects, retail sales or general accumulation of stuff…but I am a fan of acquiring skills and then sharing them with others. If I could make a living off of just sharing what I’ve learned through trial and error…I most certainly would!
So why am I blogging about a class that you may or may not be close enough to come take…well… because we hope to create this class as a downloadable video or a DVD. Well, and yes, if you are close enough to the neighborhood – I’d love to meet you and share this experience with you (provided your interested of course).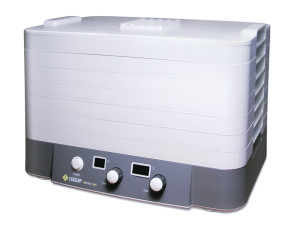

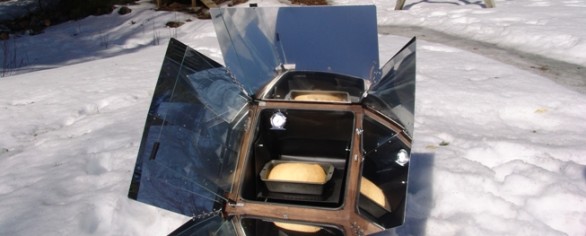
 Dehydrating is one of the best ways to prolong the harvest and halt the spoiling of fresh produce (thus saving money). As a matter of fact today – just before posting this – we were dehydrating some mushrooms in the All American Sun Oven just outside the shop door. Why? Because they were on sale because they were too close to the ‘buy by’ date and we know we can make them long-term shelf worthy this way BEFORE they spoil!
Dehydrating requires no electricity for storage so when the power goes out, you still have shelf stable food available without all the added preservatives.
So if you are able…I hope you’ll consider attending this (or any other class)!
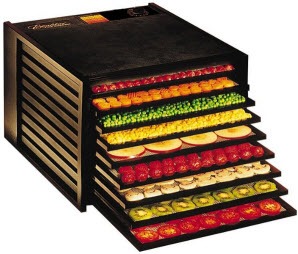
The Dehydrating Basics Class will give you the basics of getting started. We’ll share some ideas of what dehydrates well, what doesn’t and even some surprises with things you thought maybe couldn’t BE dehydrated but can be!
Here’s what we’ll do….
Eat some samples and give you some recipes. (:
Learn Proper Storage instructions for your dehydrated foods.
Learn some Re-hydration tips.
Demo and try a couple of Non-Electric options to dehydrating.
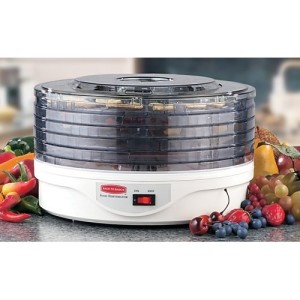
If you own a dehydrator already – this is a chance to learn to take full advantage of this money saving tool! I hope you’ll attend if you can, or if not, perhaps we can send you the DVD later on!
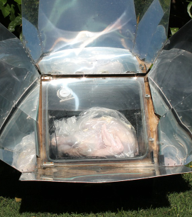 It’s always a joy for me to teach my Solar Cooking class that I have this upcoming Saturday. Cooking with the sun is not only economical, but also resourceful! Think about what you would do if your power were down?
The sun is (Lord Willing) a renewable source of energy on which we can usually rely most days. Why not harness it to do something we usually do most days – cook!
Not only am I teaching this class to show folks the difference between a home-made pizza box solar cooker, another solar cooker (which I do not carry) and the Global Sun Oven – but also the NEW All AMERICAN Sun Oven with some really great features specific to our American cookware and more.
The updates and new features really do make this like a grown up ‘easy bake oven’ (I’ve said that a lot – because it’s more fun and work to use it!)
Also this Saturday (right after the class) I have an interview with the Executive President of Global Sun Ovens International, Paul Munsen. You can listen to that interview and get even more info: HERE
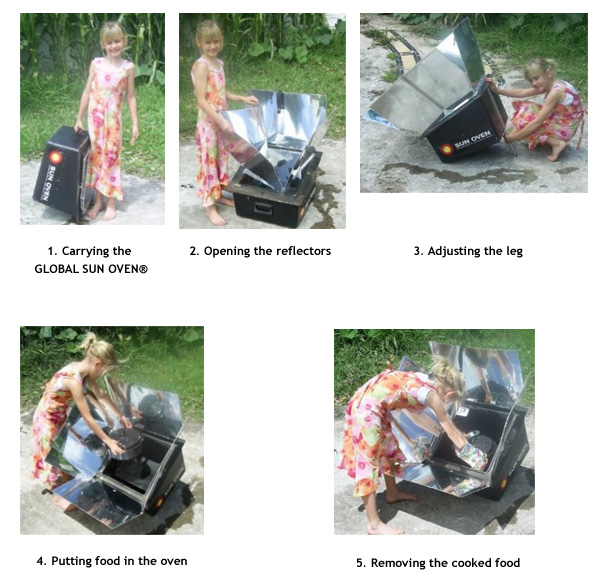 So easy to use and so fun!
If you’re reading this blog – we would like to offer you a discount for a limited time on either of the Sun Oven Options we carry (Global Sun Oven OR All American Sun Oven).
Just put the code MGHBLOG in at check out and save $10 on any purchase of a Sun Oven (shipping is included for free) … as our way saying ‘Thank you!’ and our hope that you too will enjoy this versatile alternative cooking option!
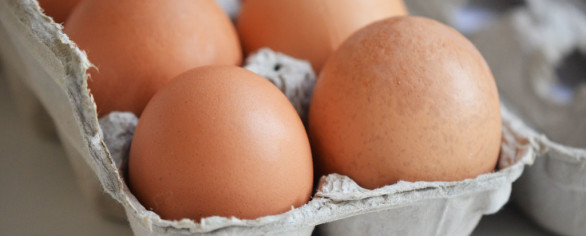
Often a recipe calls for an egg wash of either the entire egg or the yolk to be beaten with a little dab of water and then brushed on top of the item to either enhance it’s browning, create a glossy coat or adhere some tasty toppings or all three! But it’s inevitable…rarely is ”wash’ used in its entirety.
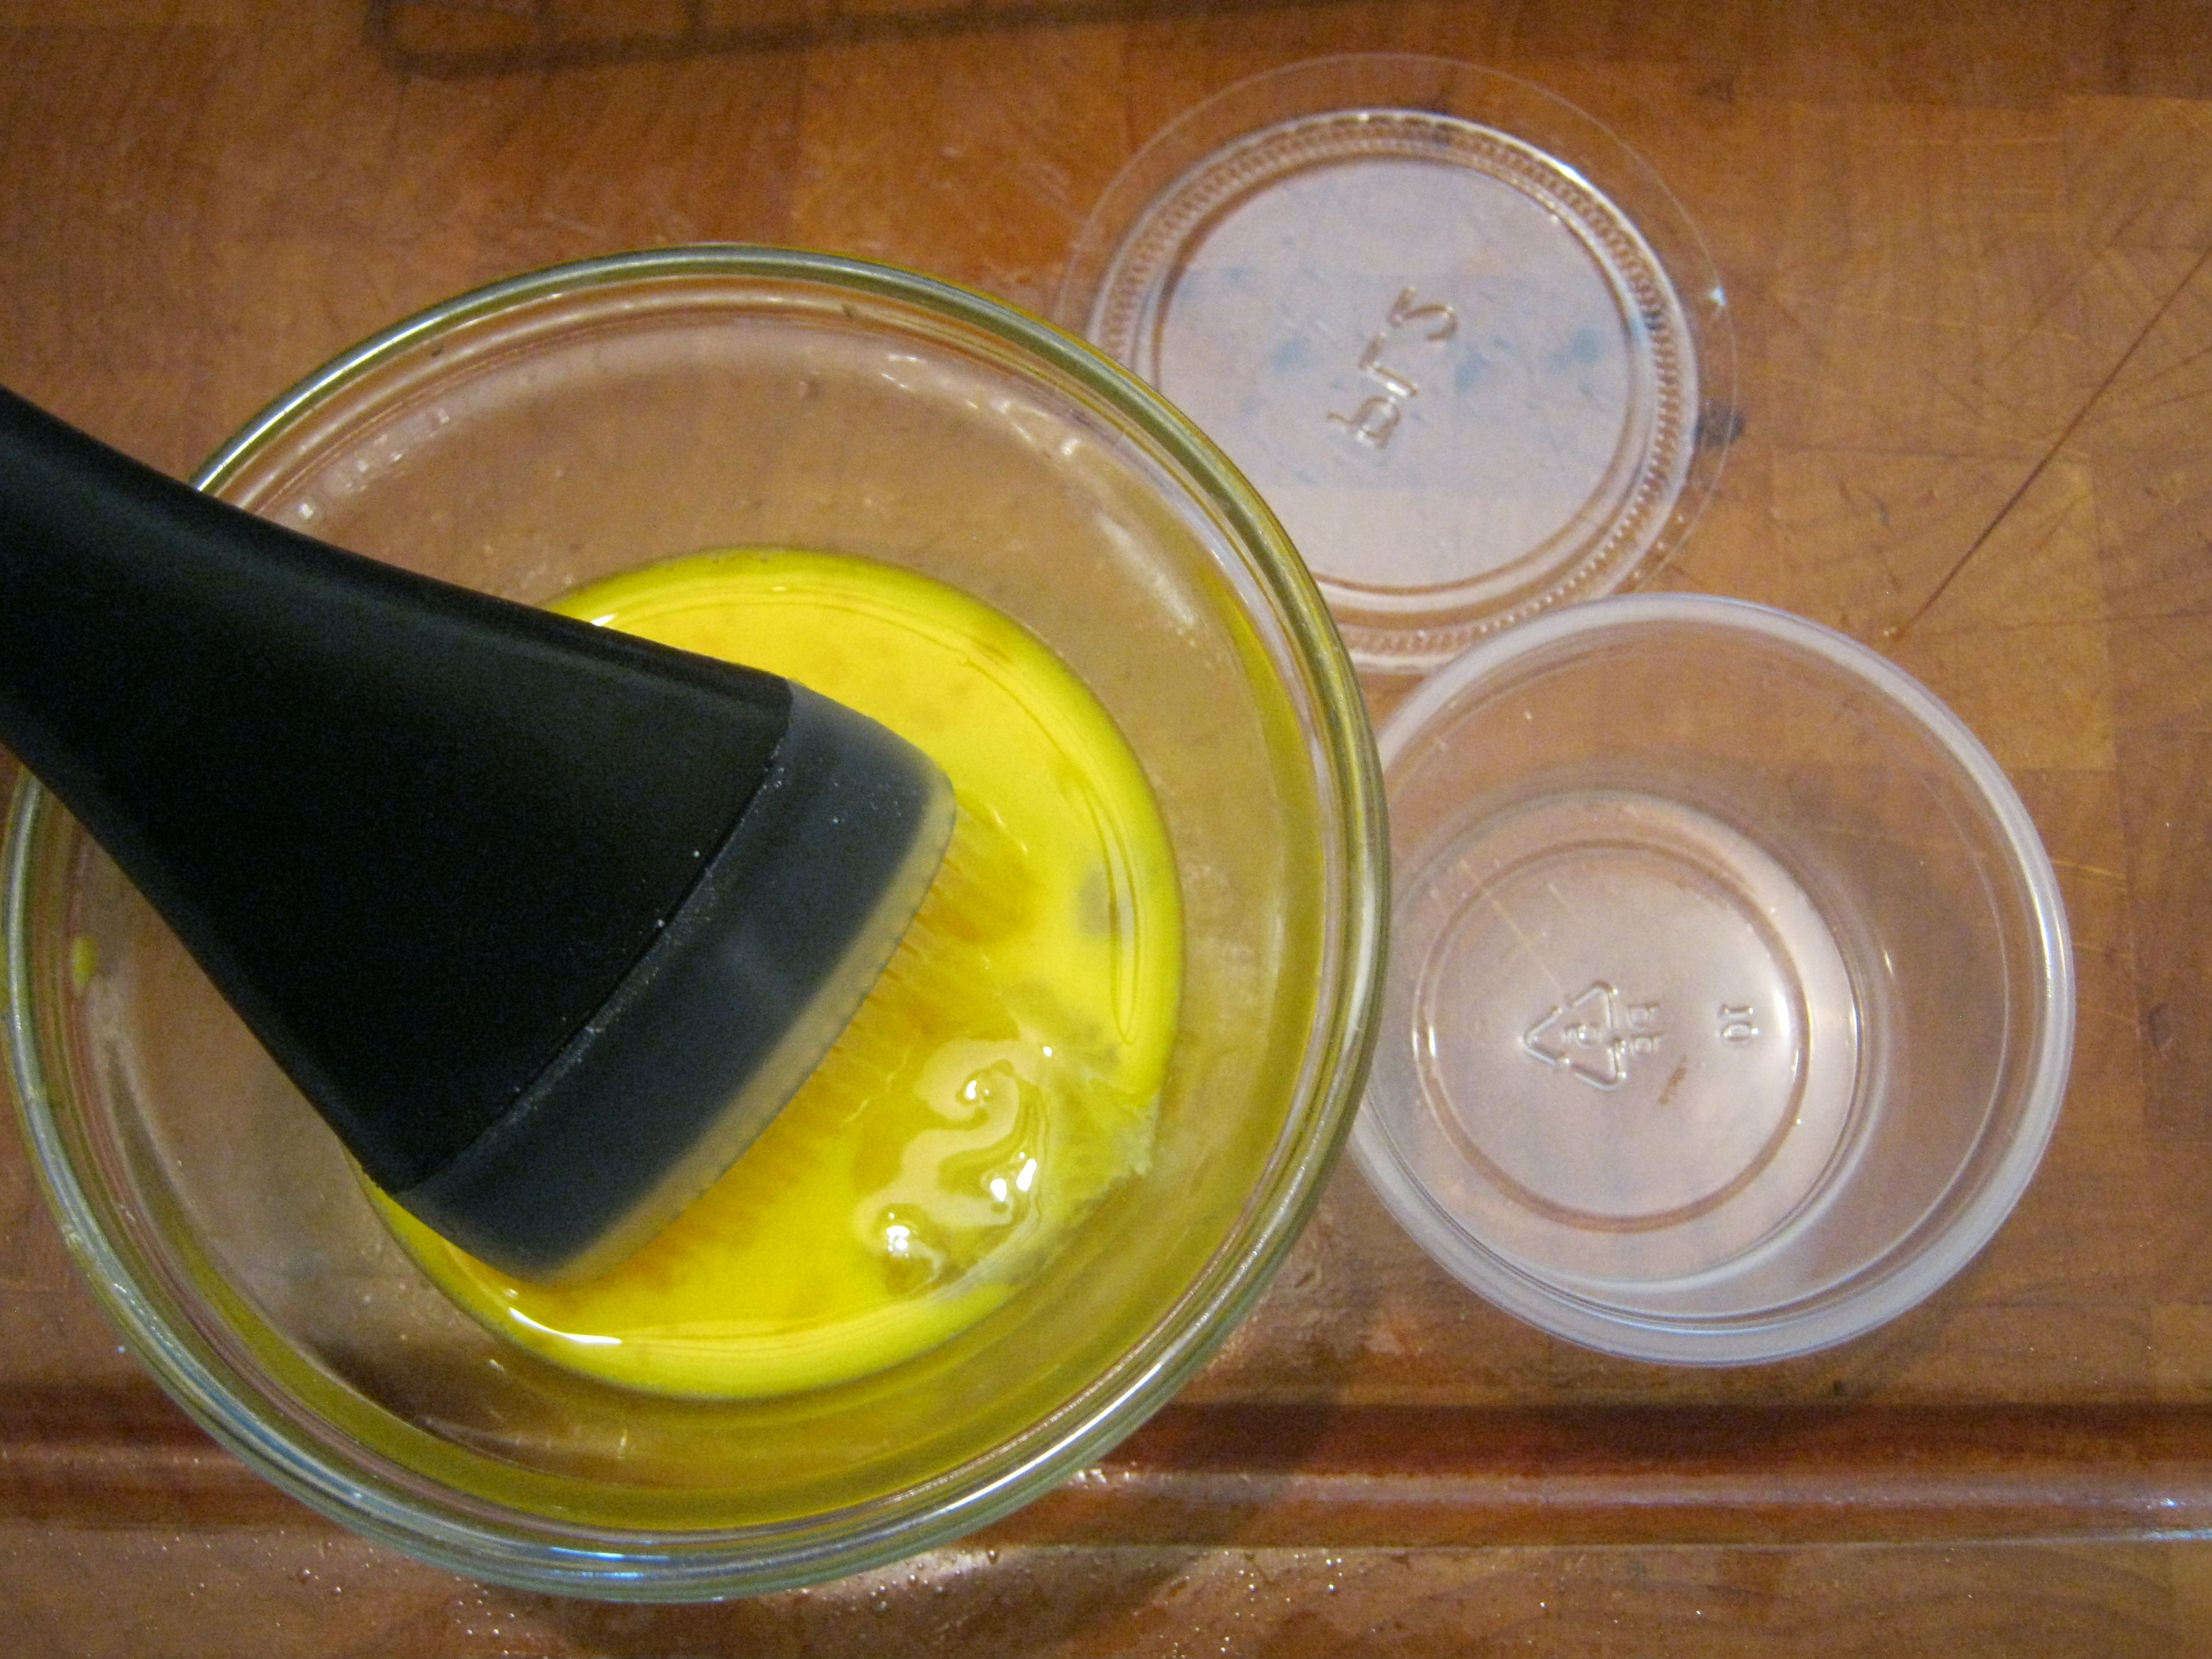
The easiest fix I’ve found for this is to break out the trusty tiny containers, known as souffle cups, that hold salad dressing or condiments ‘to go’. They cost very little at a discount store and are found on the same isle as zipper baggies and such. Something between 50 to 100 of them come in a small bag with the lids.
They work great for portioning out other things as well. If you’ve not seen the video on portion saving things such as salsa – go here and you’ll see why I like these little babies. But I digress…
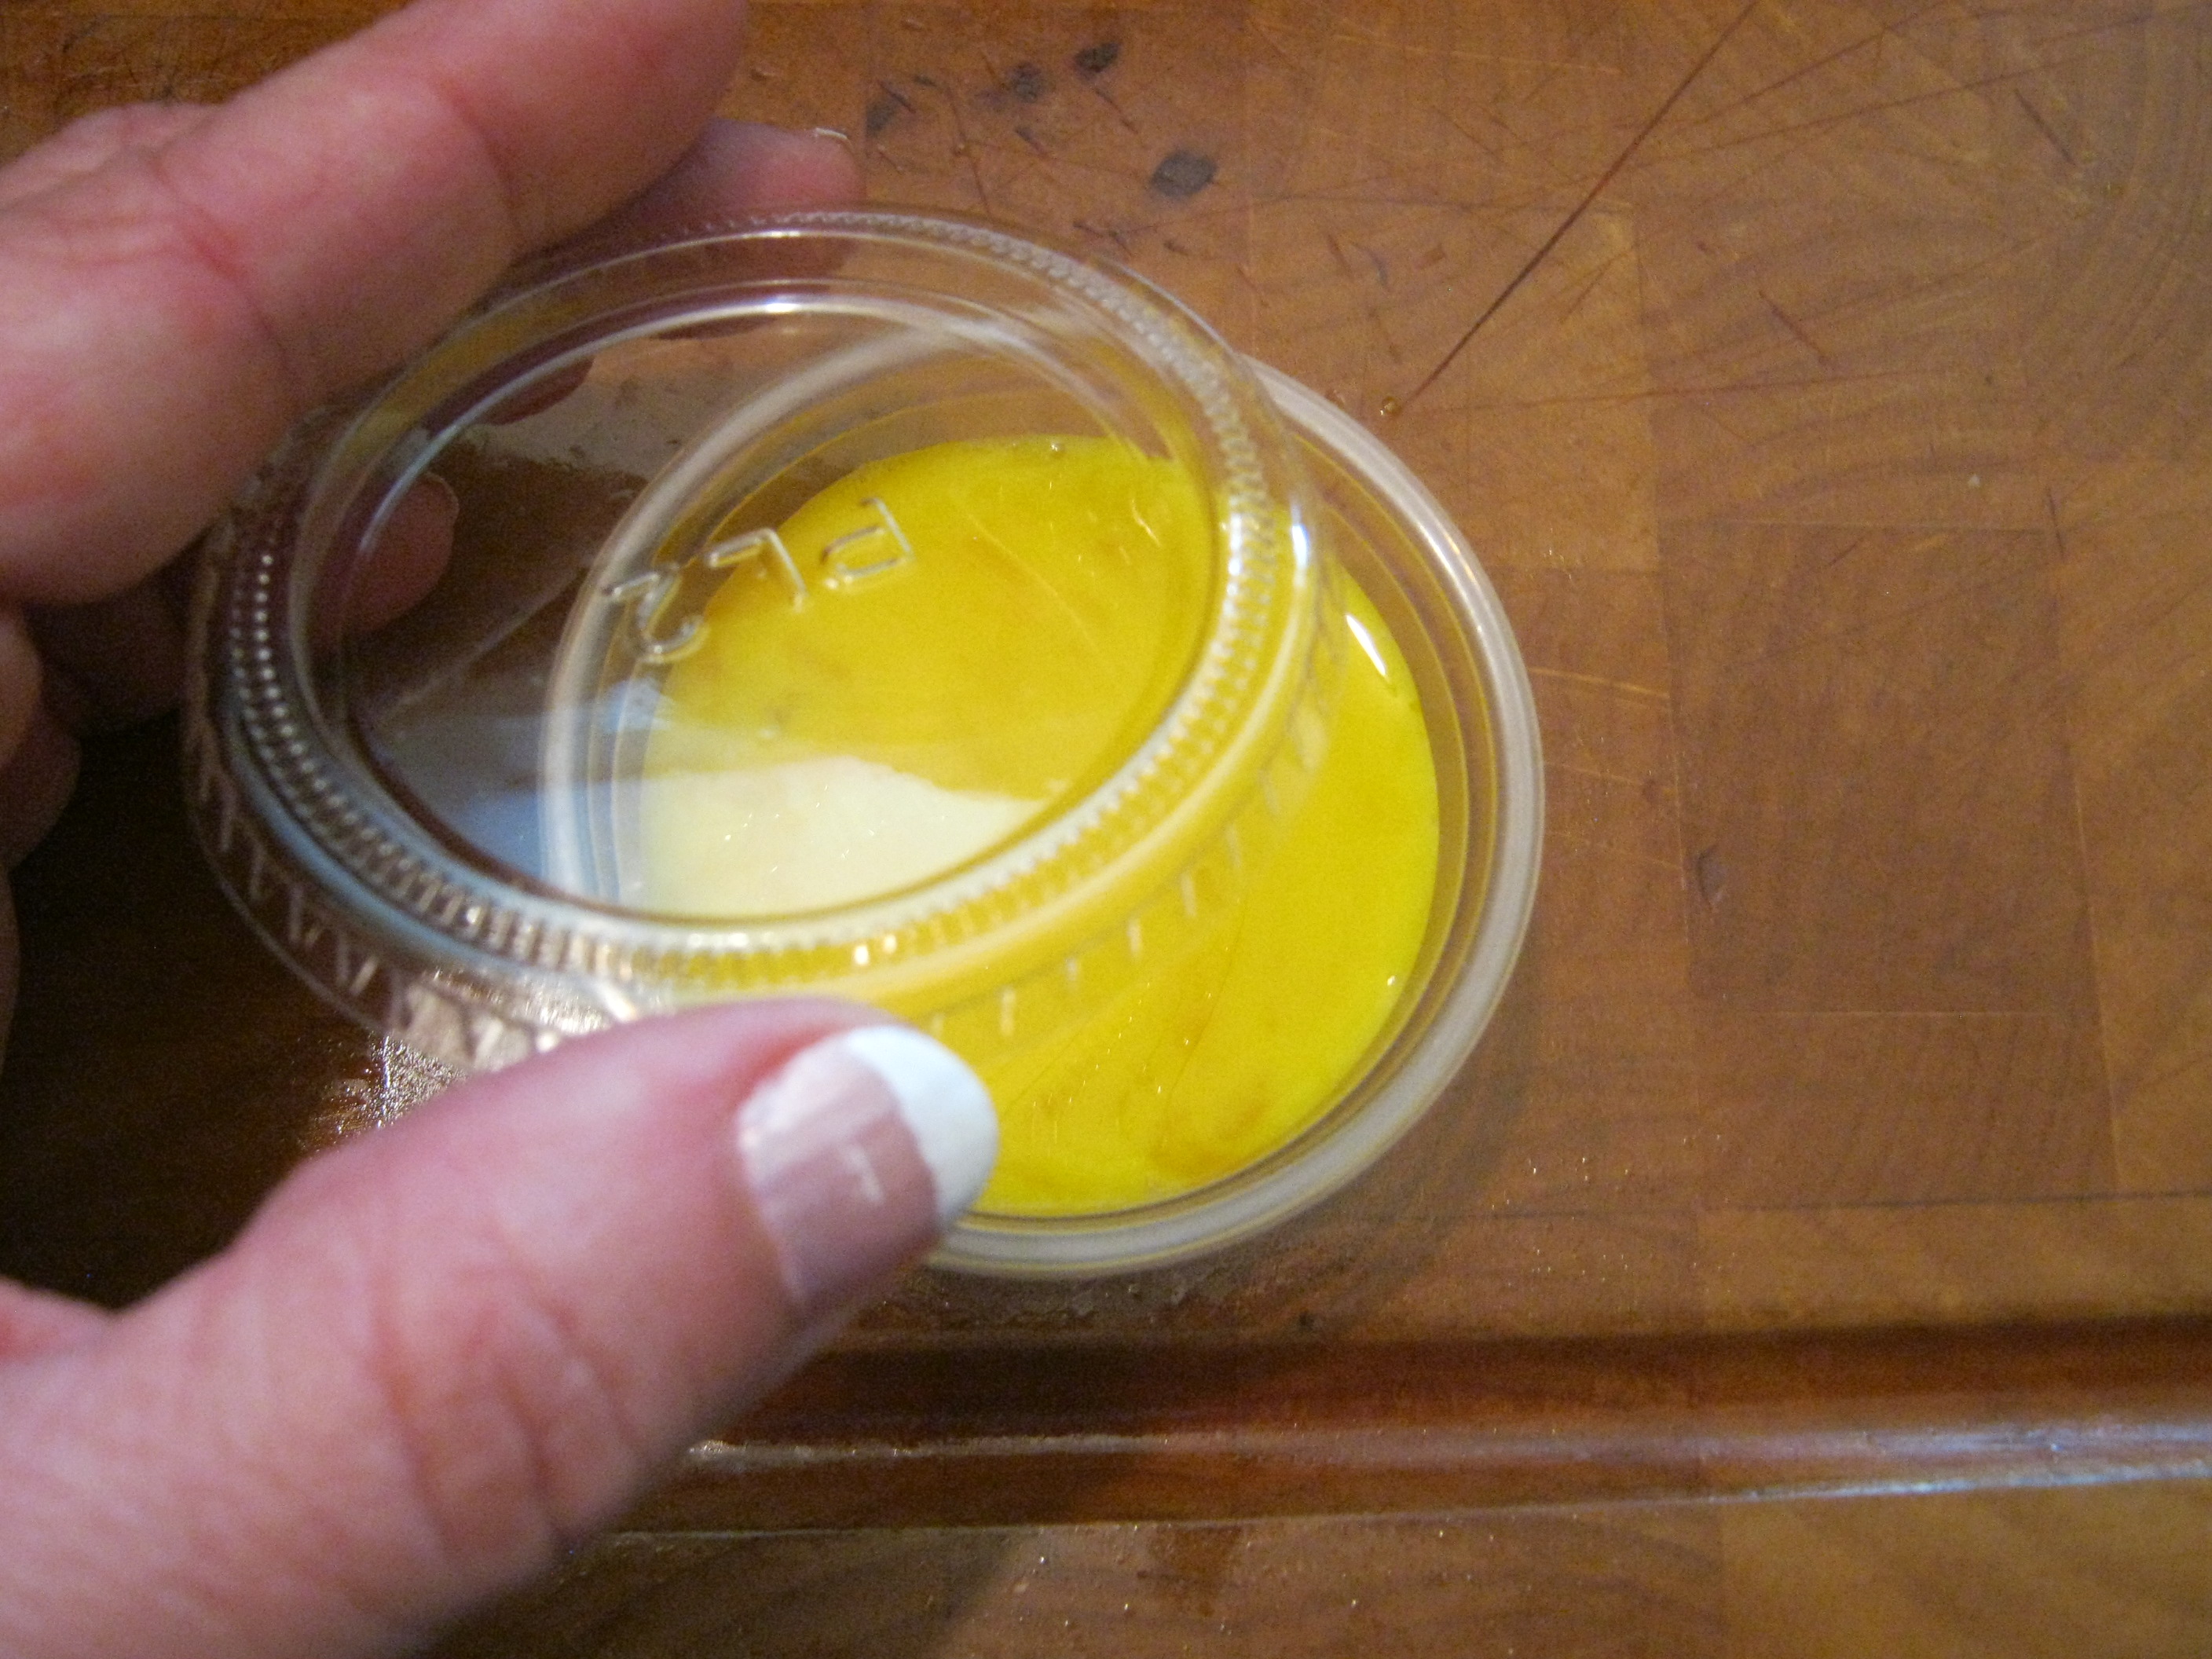
If you only had to use the yolk for the wash, put the egg white in the souffle cup and beat the yolk and water as usual. Any surplus yolk wash can then be poured into the container with the white. If your recipe calls for the whole egg, simply pour the extra egg wash into the souffle cup and cover.
To be sure these get used… simply put the filled ‘scrambled egg’ back into the egg carton. It’s easily seen then to be added to a morning omelet or the next meal calling for scrambled eggs.
The only thing I would say is if the wash went on a raw meat for any reason…don’t save it…time to give the pets a treat (:
This is one of the tastiest and easiest recipes that will make you wish you’d never used a box-mix (with all it’s creepy ingredients). Hands down this is one of my favorite uses for milled popcorn (:
Here is the recipe but also below that is a video for the recipe. Look for more blogs and videos coming soon about other ways to use popping corn!
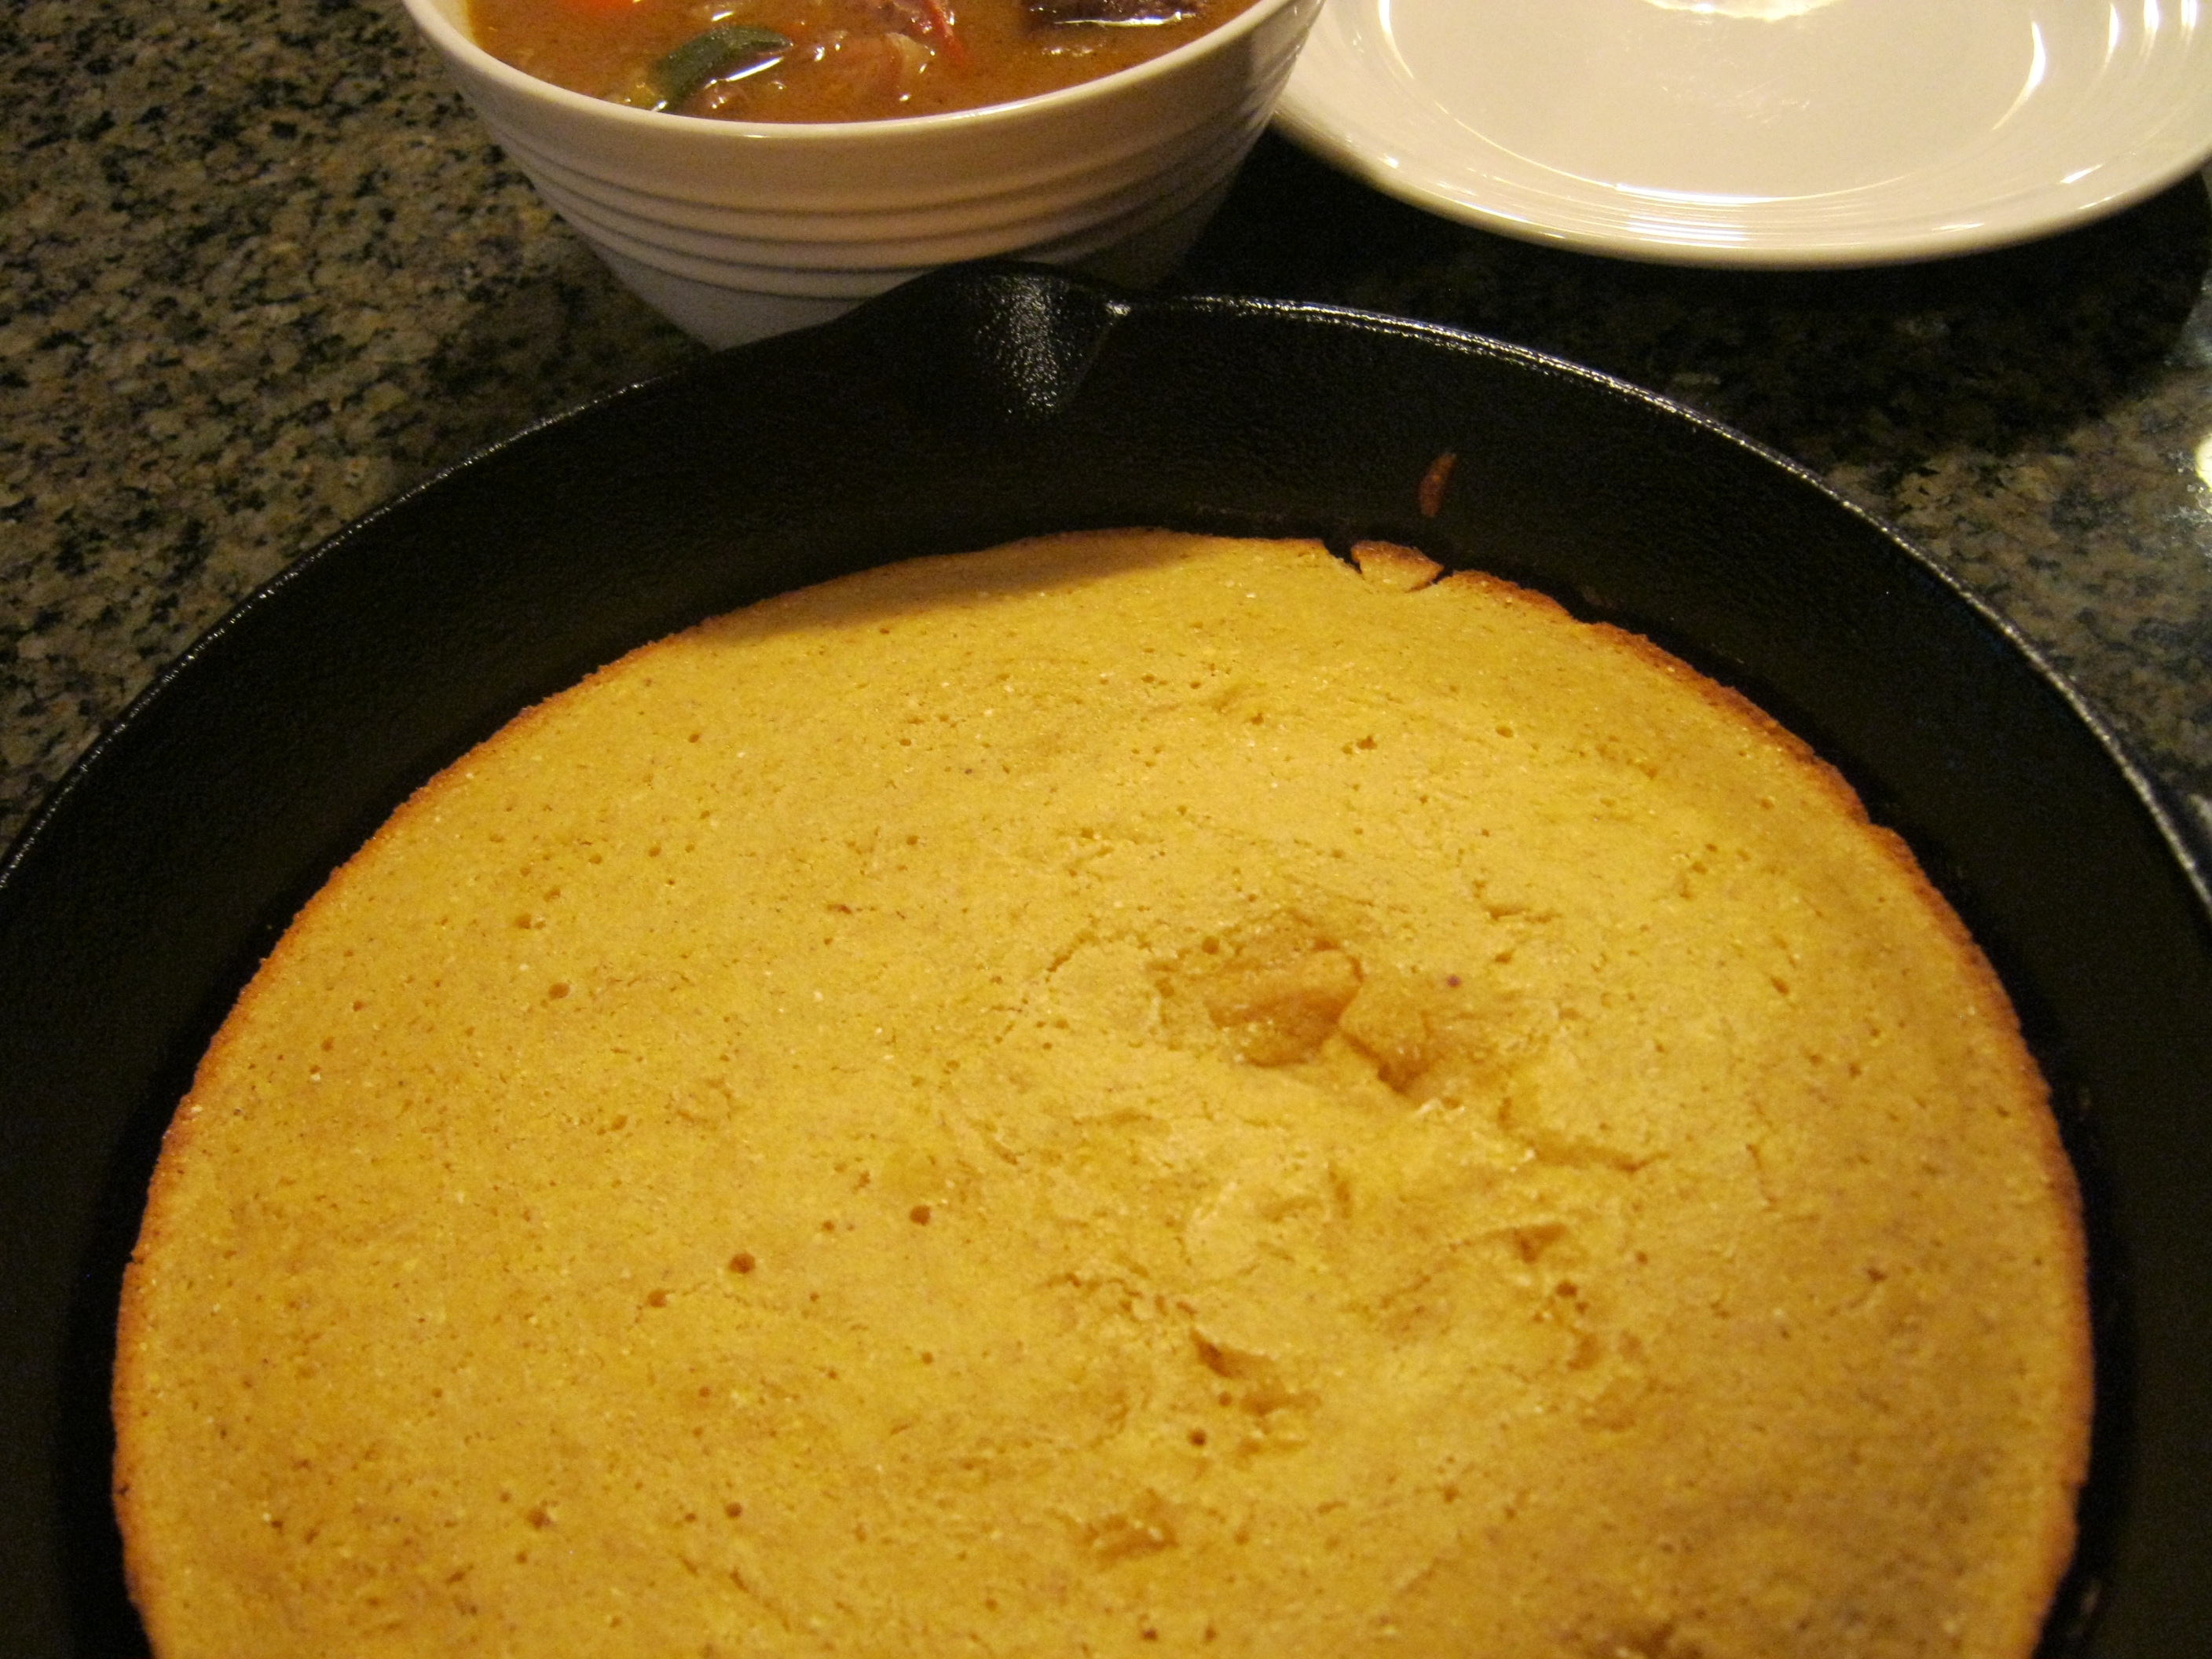
FRESH MILLED CORN BREAD
Makes 8-9 servings
Dry Grains you need to mill:
Mill separately – should make amount of flours below.
1/2 C of Dried Corn OR Pop Corn
1/2 C of Soft White Wheat Grain
List of Ingredients:
- 3/4 C corn meal
- 3/4 C wheat flour
- 1/2 tsp salt
- 2 1/2 tsp baking powder
- up to 1/4 C sugar/succanat
- 3 TBS butter
- 3/4 C butter milk
- 1 egg
Mix together all these dry ingredients first:
- 3/4 C corn meal
- 3/4 C wheat flour
- 1/2 tsp salt
- 2 1/2 tsp baking powder
- up to 1/4 C sugar/succanat
Stir together all dry.
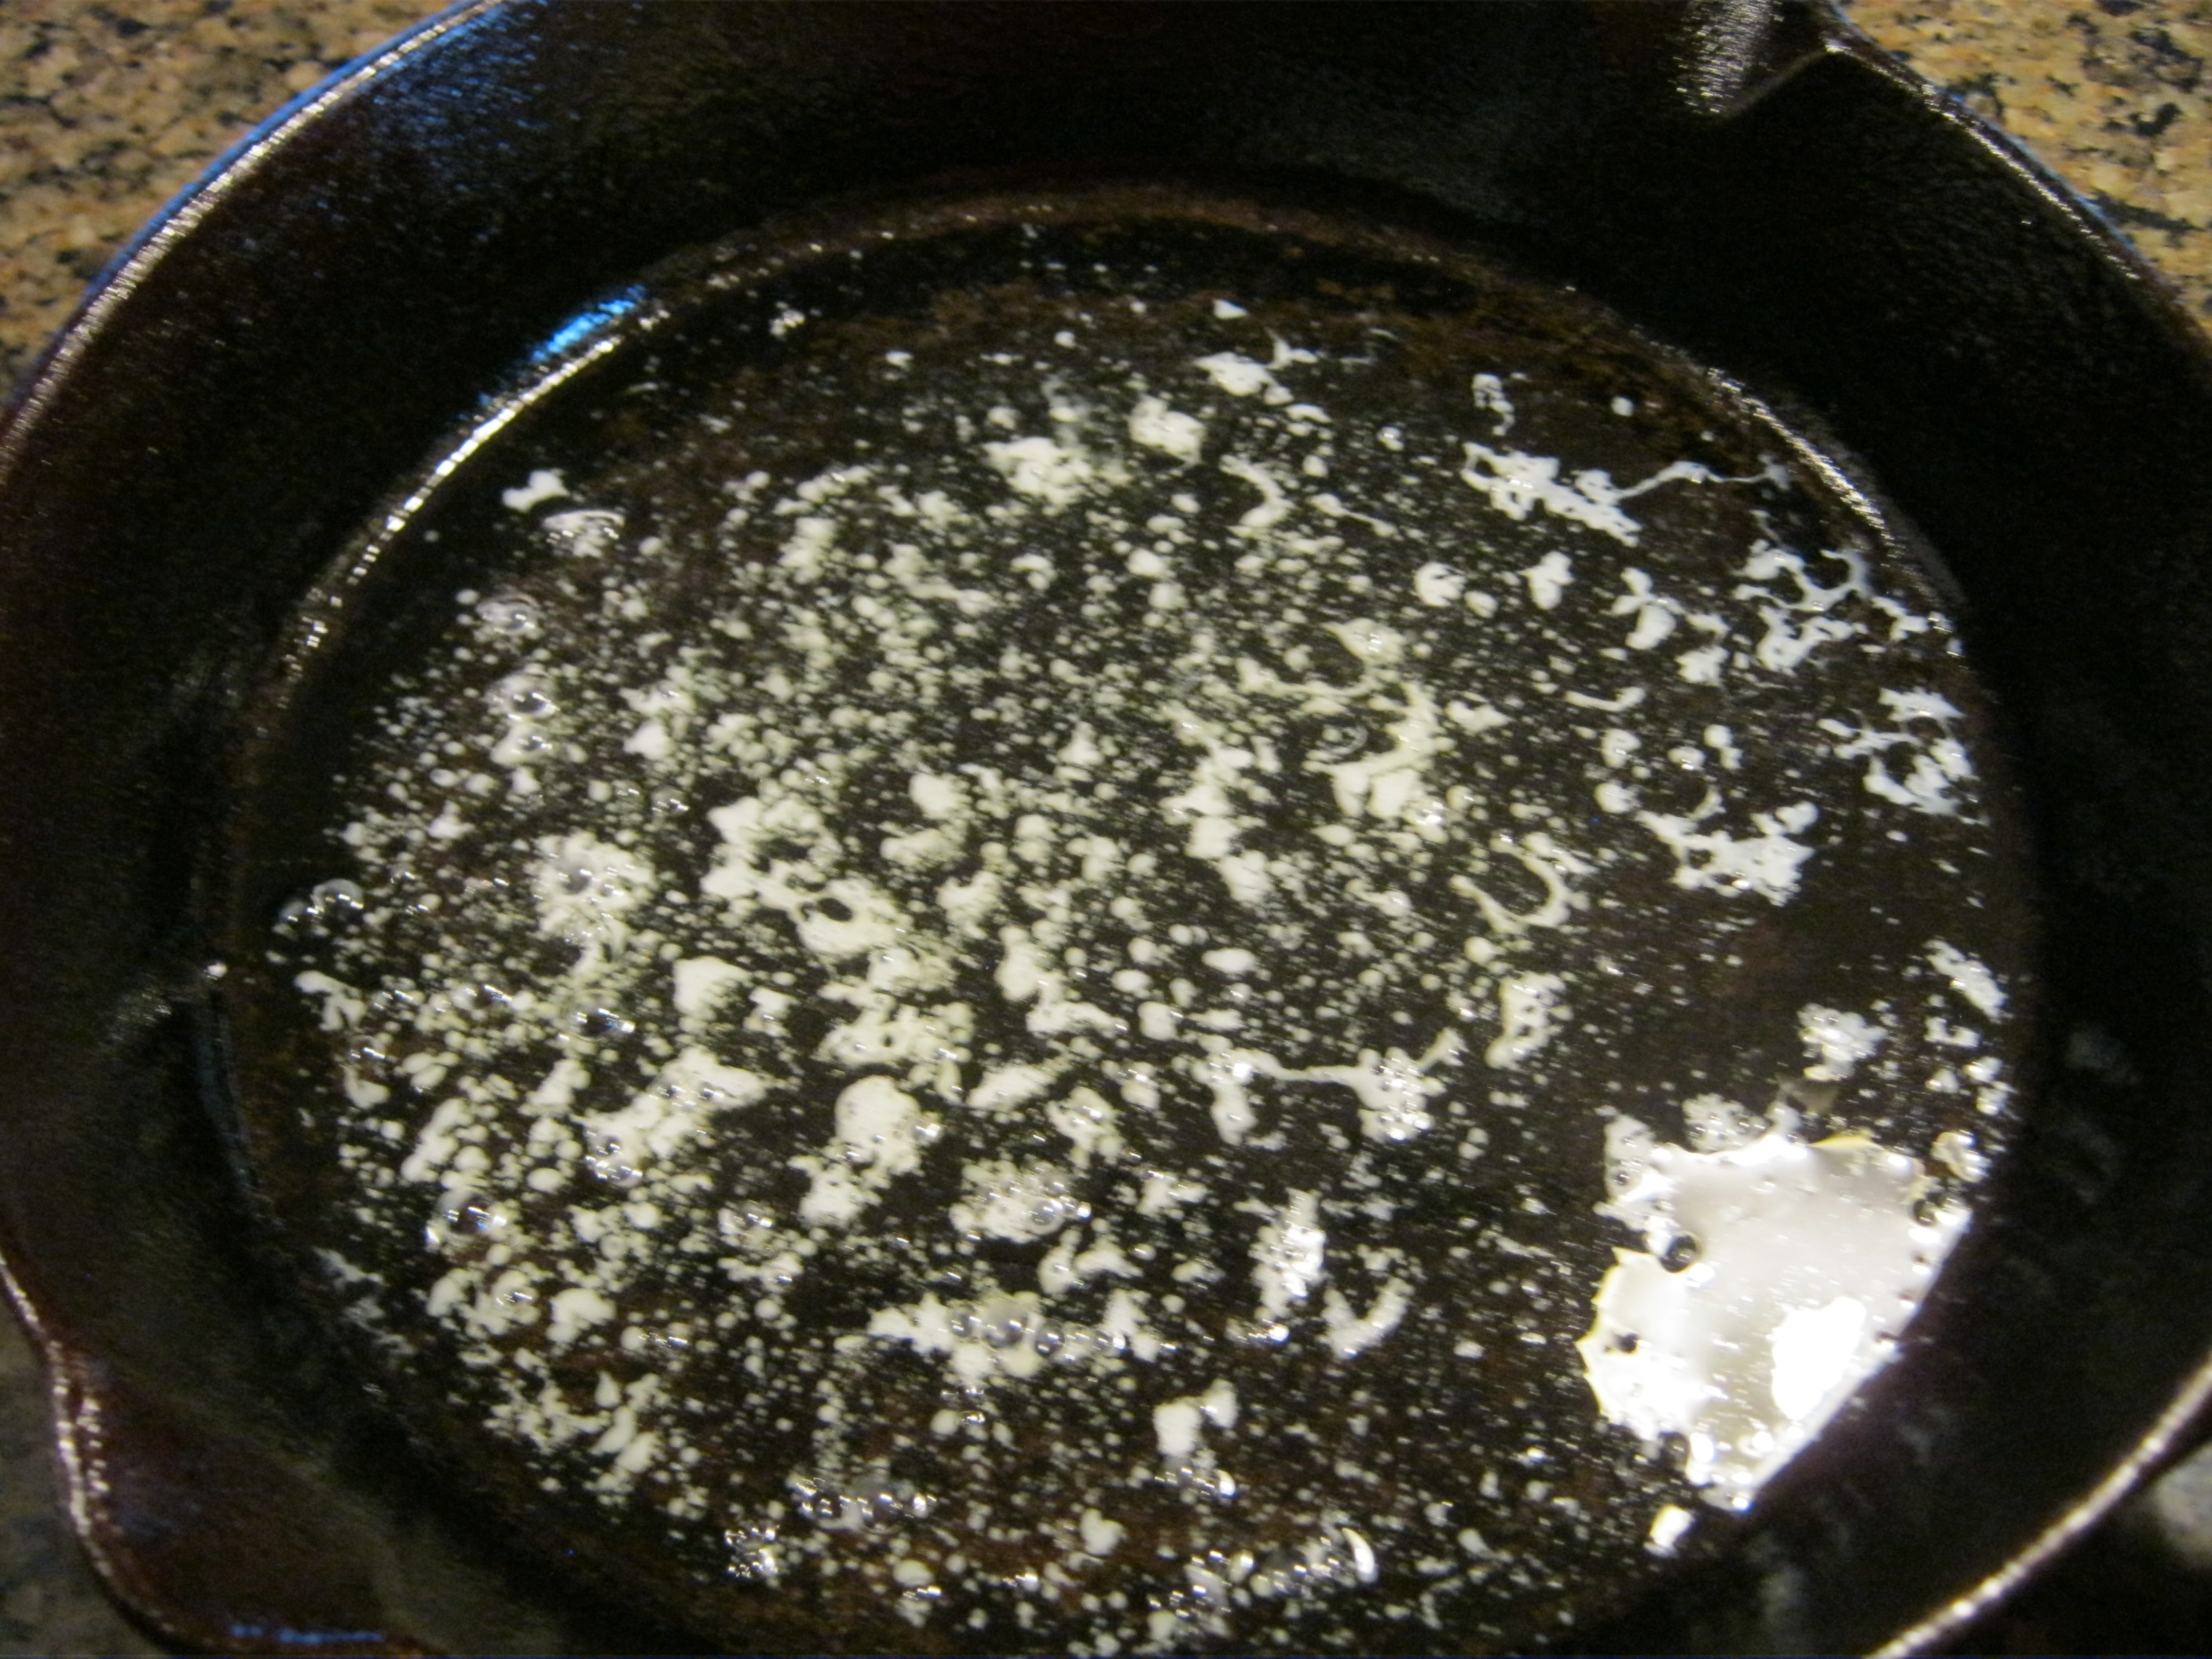 Preheat oven to 425 with 3 TBS butter in a 10-12 inch iron skillet or 8×8 Pyrex dish inside oven.
You will need to watch this and move fast….
Make a ‘well’ in the middle of dry mix to add:
- 3/4 C butter milk
- 1 egg
Mix ingredients until just blended….BARELY…
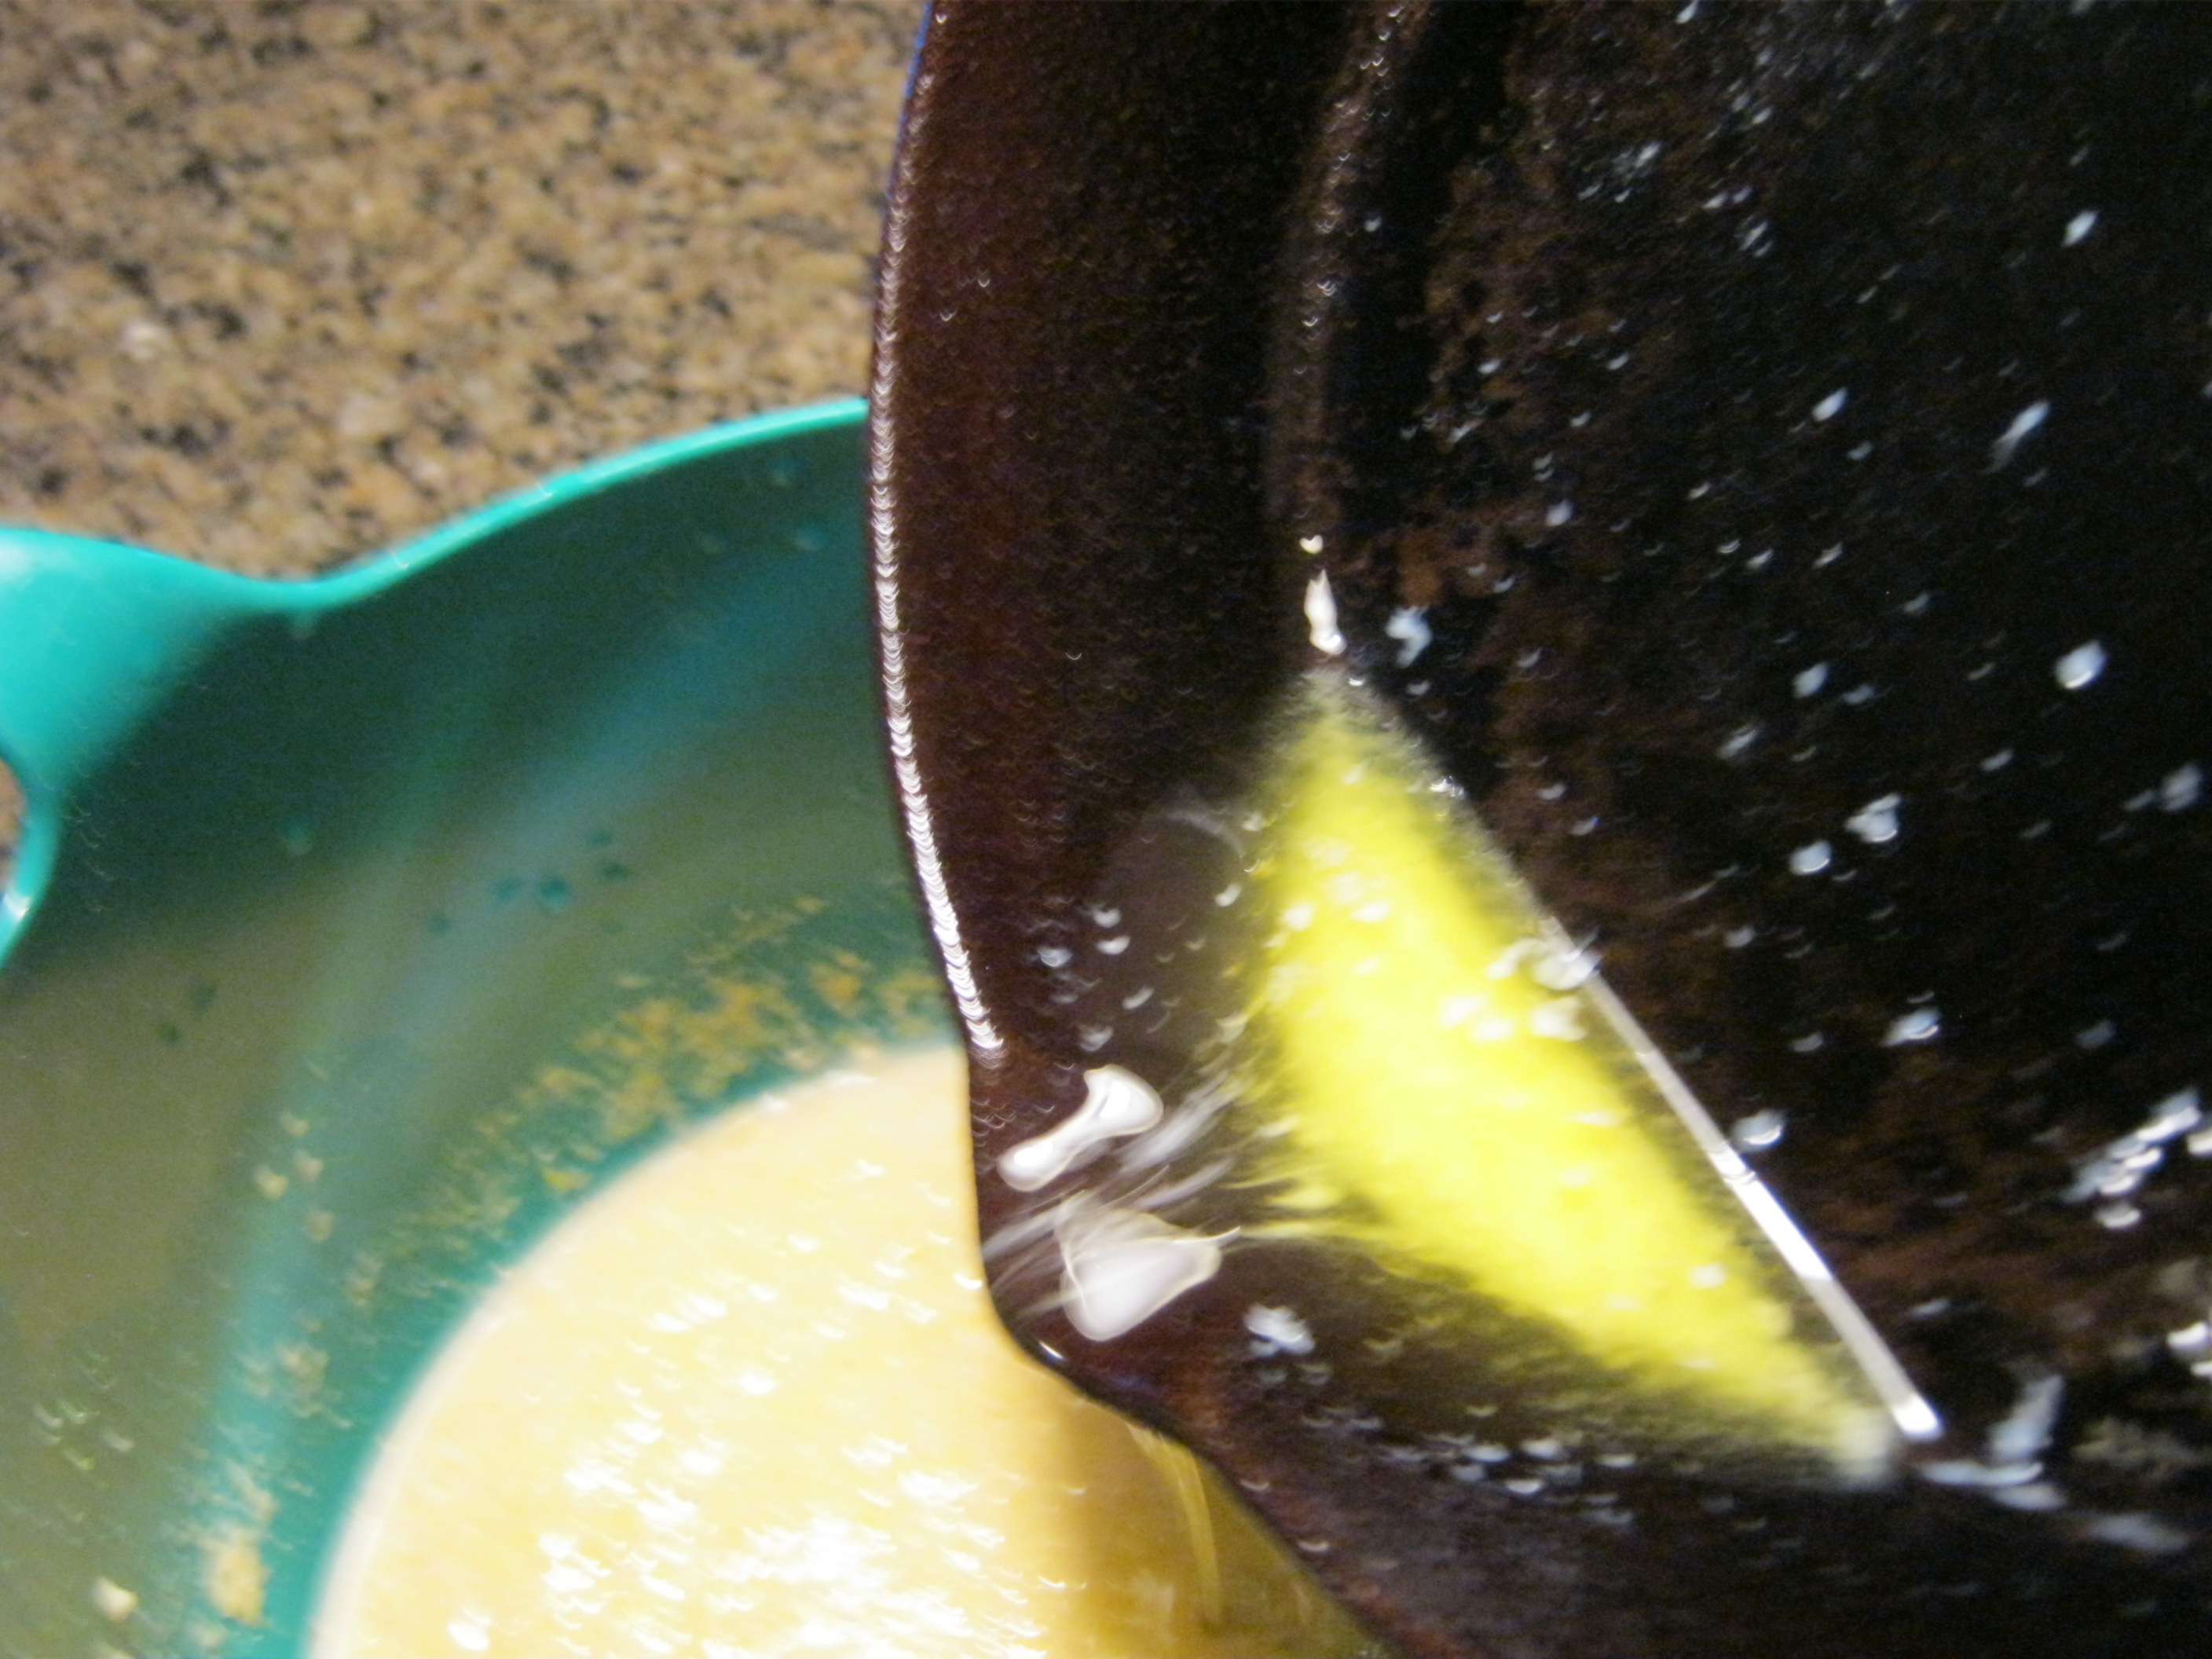 NOW – take the pan out of the oven and pour the melted butter into the buttermilk. Be sure to leave enough butter in the pan to keep it well coated. Mix ingredients again until just blended a bit more and quickly pour into hot buttered pan.
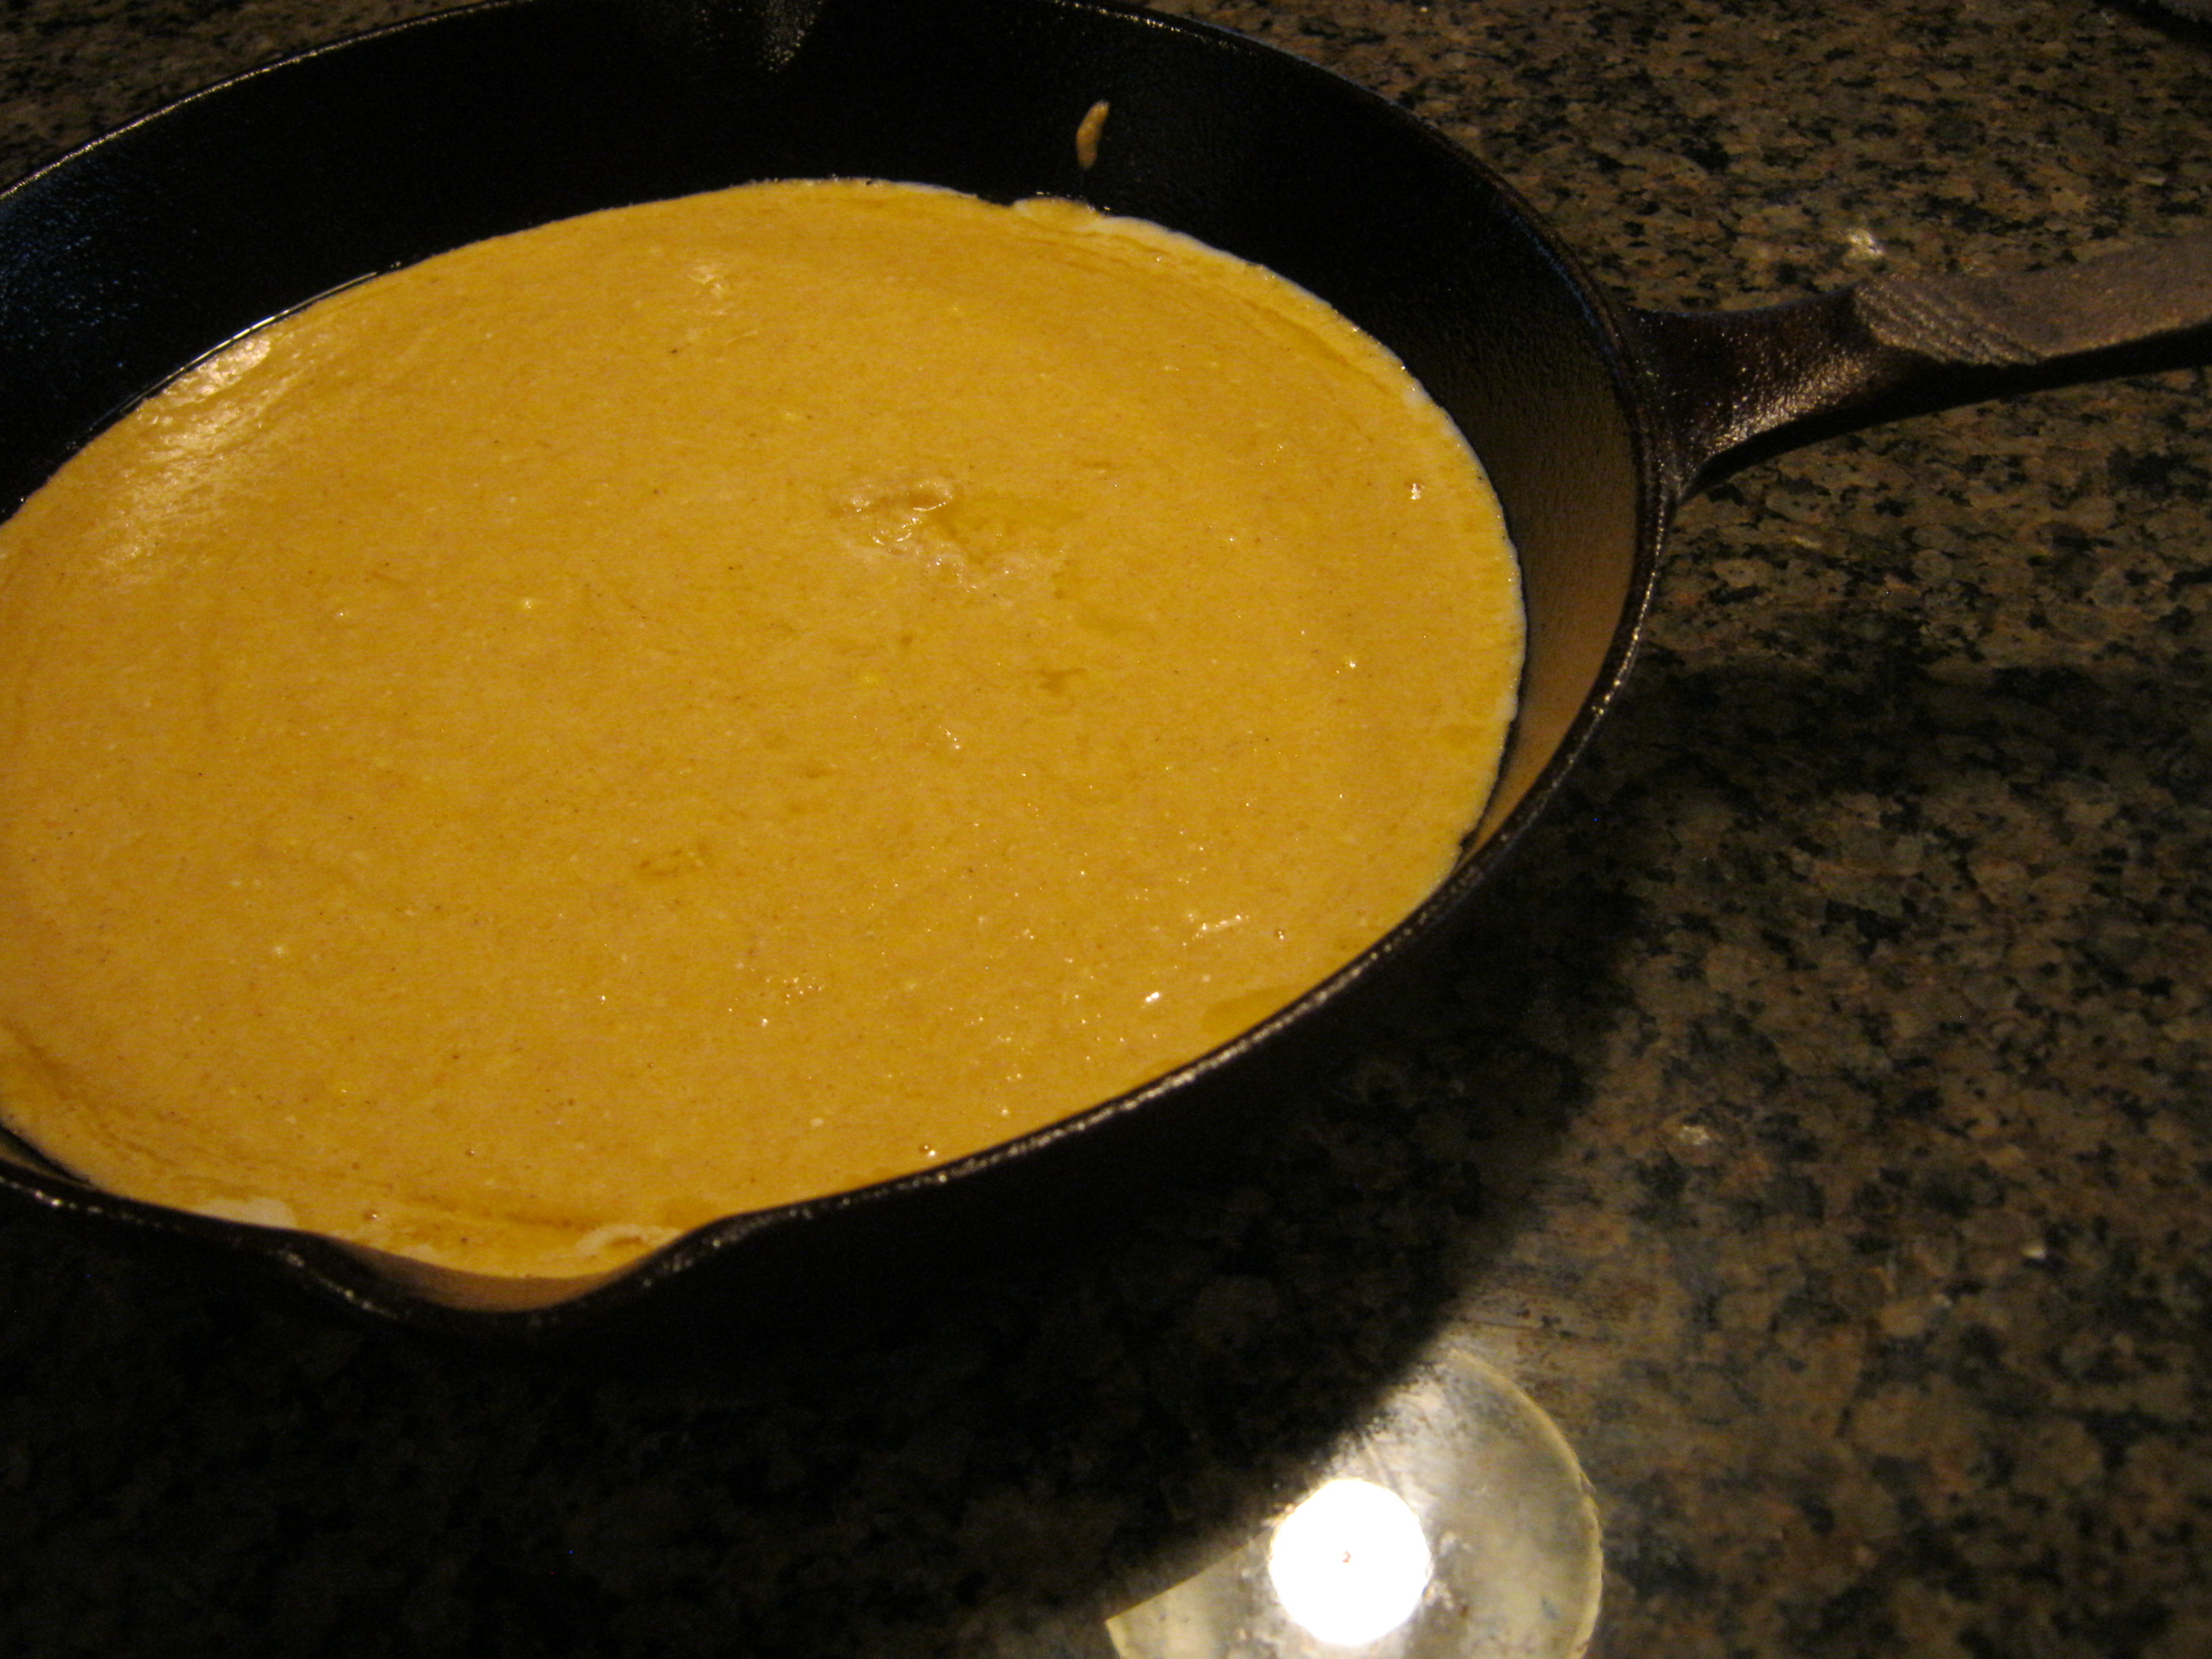
Replace in oven on middle rack for about 20-25 minutes.
Slice within the pan and serve with butter, honey or molasses.

Variations:
Add one can of drained corn or 1C frozen. Or add diced jalapenos, tomatoes, corn and/or onions for a Mexican Cornbread.
***********************************************
Although often asked about my heritage – I do not have any Hispanic blood in my ancestry. Odd thing is, based on our favorite foods – you might think so. (:
So it is with this thought in mind I share one of my favorite versatile South of the Border foods. The tortilla! Of course I’m going to make it whole grain and with healthy oils so we can enjoy them more often. I’ve also included with this recipe is a video I made to make it easier to follow along…and a bonus idea at the very bottom to make this an even more versatile recipe. I hope you enjoy!
FRESH MILLED WHOLE WHEAT FLOUR TORTILLAS
Makes 8-12 servings
Dry Grains you need to mill:
1.5 Cups Hard Wheat (Red or White)
You may wish to use 3/4 hard and 3/4 soft wheat
‘Special’ Items Needed:
- Griddle, Large Sauce Pan or Electric Tortilla press
- Rolling pin (unless you have a Tortilla press)
- Plastic Wrap
List of Ingredients:
- 1 Cup Warm Water (you may not use it all)
- 1/4 Cup Olive Oil
- 1 tsp Salt
- 1/4 tsp Baking Powder
- 2.5 Cups Freshly Milled Flour
Using fork or wire whisk, combine all dry ingredients in a medium bowl. Then drizzle the oil over top whisking in to mix to make small crumbles.
Now, with a spoon/spatula, slowly mix in warm water by drizzling in from down the side of the bowl while mixing. Combine enough water until mixture is moister than a yeast bread but drier than a muffin mix. When it pulls from the side of the bowl while mixing it should be ready. Turn the slightly tacky/sticky dough out on to plastic wrap and seal. Place in fridge for 10 -30 minutes.
Remove the dough and divide it into even size dough balls. Slightly flatten to hockey puck shape. Starting from the fist one you shaped/handled….work your way through them in this order (odd yes, but the extra ‘sit’ time helps them form).
Use Tortilla press if you have it per manufacturer instructions.
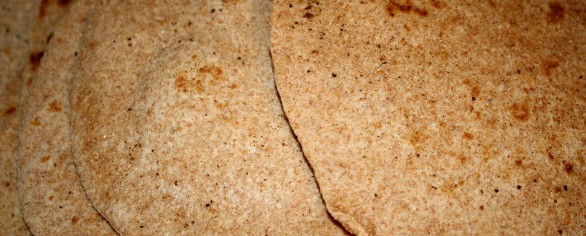
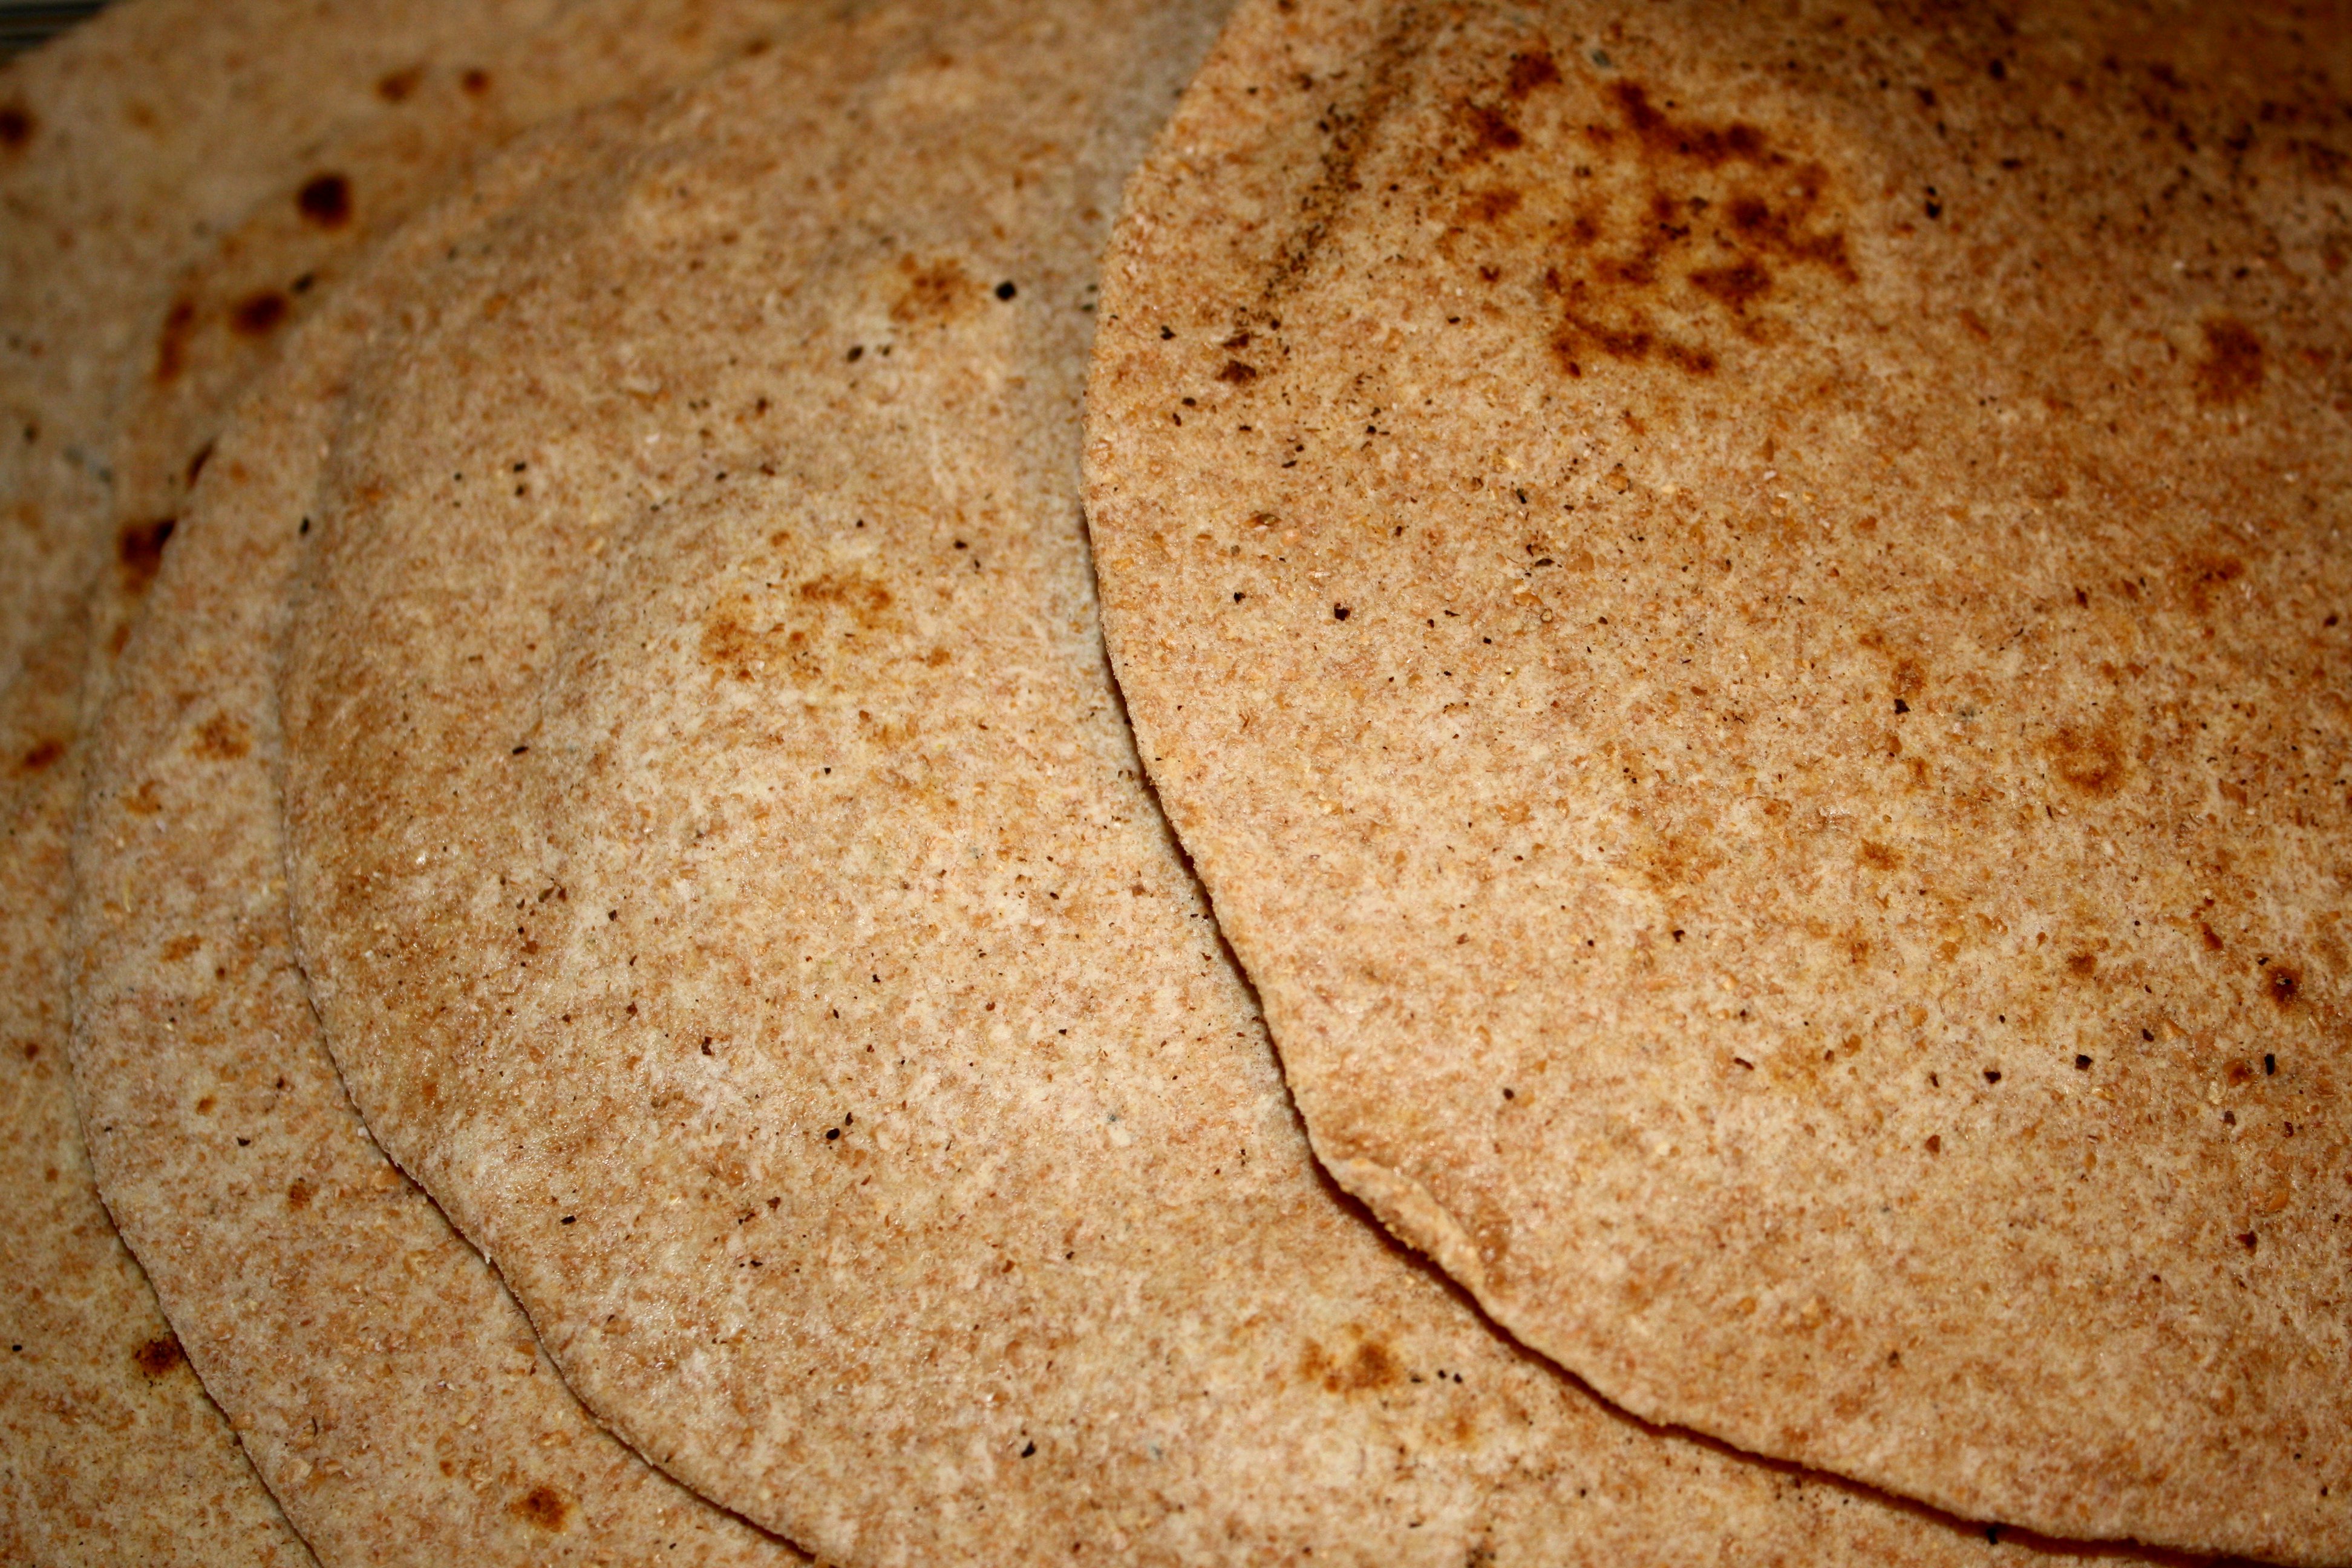
If you don’t have a press, then roll out each tortilla while griddle or sauce pan are pre-heating to med-low heat. When we roll these out we call them “American State Tortillas” – because some look like SC, or VA some are the shape of CA… but they all taste and wrap great anyway!
As each one is thin to your liking, flip onto a lightly greased griddle or sauce pan for a minute to two per side. You can get pretty good at this as you flip one roll another, remove and replace. You’ll have 8-12 of these done in no time.
Store in the refrigerator with a half of a paper towel between each in a zip lock bag for up to two weeks.
Bonus Recipe Idea:
Add a couple TBS of Organic Cane Juice Crystals and a dash or two of cinnamon to the dry mix. Sweet Tortillas to roll up fruits and cream cheese for a quick dessert or breakfast.
For more recipes, encouragement and tips – please Join Our Newsletter – we would love to keep in touch!
Best Blessings!
Donna Miller
Take a little trip with me, if you will, down memory lane…
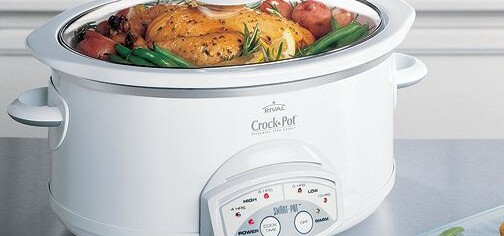
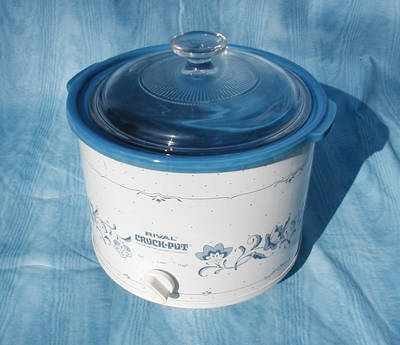
The first crock pot that I ever owned looked quite similar to the one pictured here that I saw for sale on eBay. I really don’t know the year, make or model but I do know the sentimental attachment to it. It had two settings – high and low. No automatic turn off time, no warming option if we came home later, no removable crock (this puppy was all one piece) and only one compartment for food.
The one thing it did do was a realistic LOW setting.
There were several models like this that seemed to be like our right hand in the kitchen when the kids were little, work was late and family was busy that helped many of us put a hot home-made meal on the table!
Then, enter the idea that we could improve on the one chamber simpleton that we reminisce about with fondness and we opted for one with more variations….like this one pictured here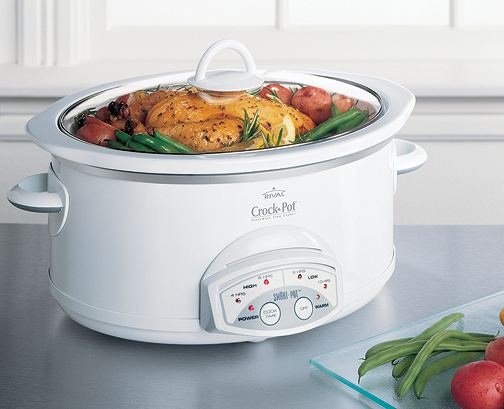 . The singular interior crock came out making it much easier to wash and could be replaced with an equally easy to clean dual chamber ceramic crock, thus allowing two different items to be slow cooked at the same time. Also there were multiple time and temp settings with a warming time if we perhaps were a bit delayed getting home to avoid over cooking.
This seemed to be a great improvement on the one-pot wonder from years gone by. I did move to making many a meal in the larger crock pot both for the ease of wash up and the need for larger meals – the kids were in fact growing, as kids will do. But one flaw I never quite overcame puzzled me until just recently. Even when set on low, this crock pot got too hot!
All the kids are grown and gone now – but I finally figured out how to make a too-hot low heat work better. Now please note, this will not work if your crock pot turns off with the break in electrical current (such as the one above does)…but if you have one that is too hot but stays on a simple setting, you can fix it this way.
Plug it in to a lamp timer.

Chances are you have something like this or you can find them at thrift stores and garage sales for pennies. Simply set it to go on an hour and off the next all the way around the timer. Plug in the crock pot (one that stays on even if the current breaks) and set it on low.
This will work well if you are hoping to warm soup that has pasta or rice (which can become obliterated in too high of heat) or you simply want to make sure you don’t scorch the sides of a smaller serving while keeping it on the lowest possible simmer all day.
I found this to work well for heating food that had already been cooked and keeping things hot enough to avoid spoilage without over cooking them.
Here’s a confession: I still have and frequently use my old, one pot wonder…it still works fine!
Best Blessings!
Donna Miller
Millers Grain House – Bulk Route
Millers Grain House – FAQ’s, Blog, Radio & MoreThank you for allowing us to serve you. It is our pleasure!
Deut 28:5 – “A blessing upon your grain-basket and kneading-bowl.”
Feel free to contact our office via email or call during business hours.
Mon – Thurs 9:00-5:00, Fri 9:00-4:00 Eastern Time (Closed Sat & Sun)
828.536.4988
FOR A SELF-SUSTAINING LIFE


